
Breaking Bad Blue Rock Candy Meth: A Crystal-Clear Tribute to TV’s Most Infamous Treat 🔵🍬⚗️
1. Introduction
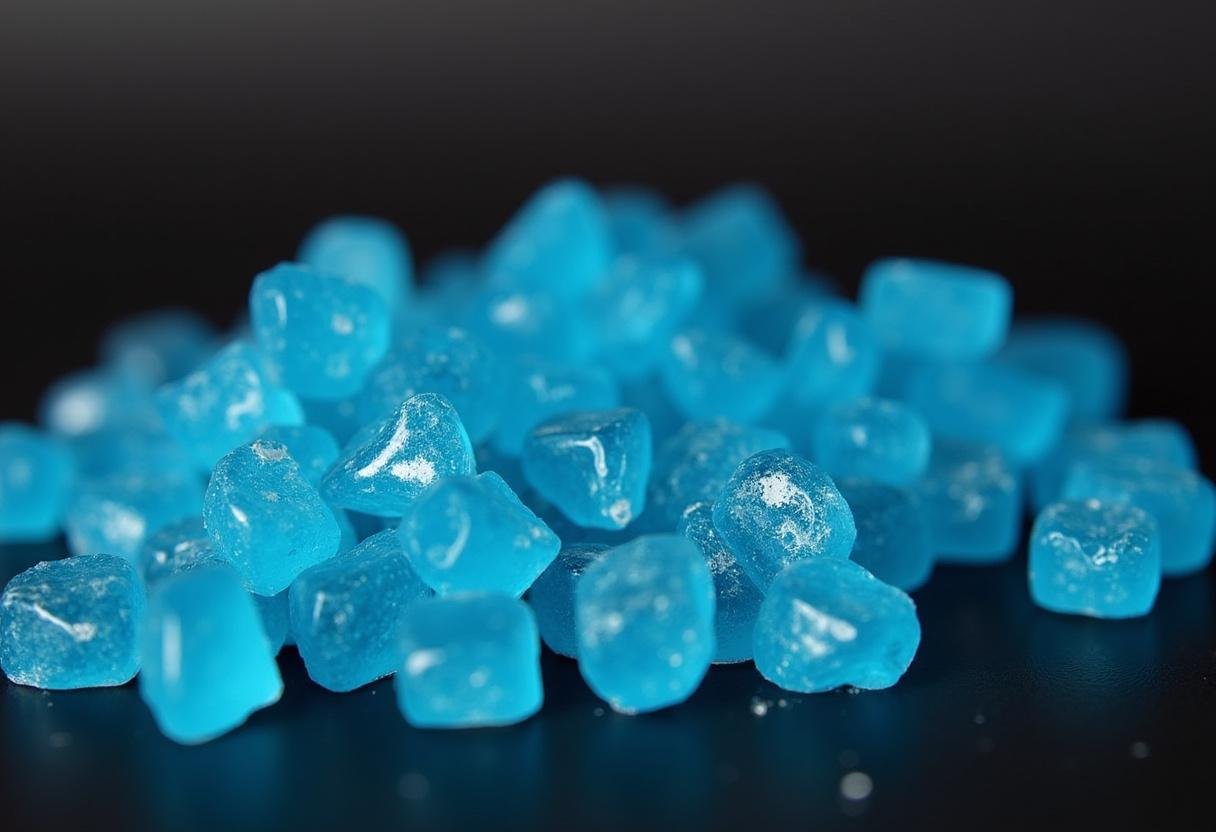
For fans of the groundbreaking TV series Breaking Bad, the iconic blue methamphetamine created by Walter White and Jesse Pinkman became one of the show’s most recognizable symbols. While we absolutely don’t condone any illegal substances, we’ve created a completely legal and delicious alternative that captures the visual essence of that famous blue crystal – our Blue Rock Candy Meth recipe! This fun kitchen project is perfect for themed parties, Halloween treats, or simply as a conversation-starting sweet that pays homage to one of television’s most memorable shows.
What makes this recipe particularly exciting is that it combines culinary creativity with basic food science. The crystallization process creates stunning, gem-like structures that genuinely resemble the show’s signature blue meth, but are 100% safe and edible. Whether you’re hosting a Breaking Bad viewing party or just looking for an unusual candy-making project, this recipe delivers both visual impact and sweet satisfaction.
Why You’ll Love This Blue Rock Candy Recipe
- 🎥 Perfect for Breaking Bad fans and themed events – create edible props that look just like the real thing (but taste much better!)
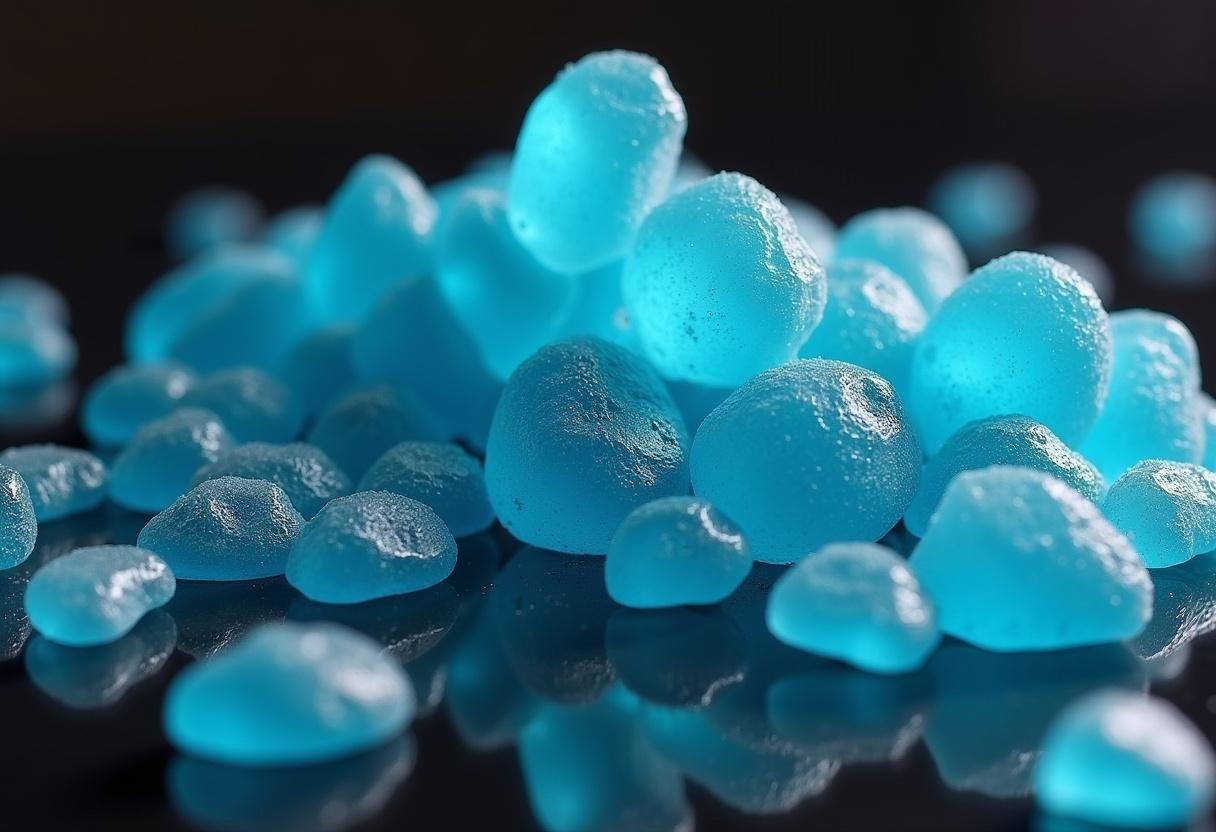
- 🔵 Vibrant blue color that perfectly mimics the show’s signature look – we’ll show you how to achieve that distinctive Heisenberg blue
- 🍬 Simple ingredients you probably already have in your pantry – no special equipment needed beyond basic kitchen tools
- ⚗️ A fun science experiment for kids (with supervision) – demonstrate crystallization while making something delicious
- 💎 Customizable results – create small crystals or large dramatic shards depending on your preference
2. Ingredients
One of the best things about this blue rock candy recipe is its simplicity. You only need a few basic ingredients to create these stunning edible crystals:
- 2 cups granulated sugar – Fine granulated sugar works best as it dissolves more completely
- 1 cup water – Use filtered water if possible for clearer crystals
- Blue food coloring – Gel food coloring (like this professional-grade option) gives the most vibrant results
- 1/2 tsp flavor extract (optional) – Vanilla, blue raspberry, or cotton candy extract work beautifully
- Silicone molds or a glass baking dish – Silicone ice cube trays work great for small crystals, while a baking dish creates larger shards
3. Step-by-Step Instructions
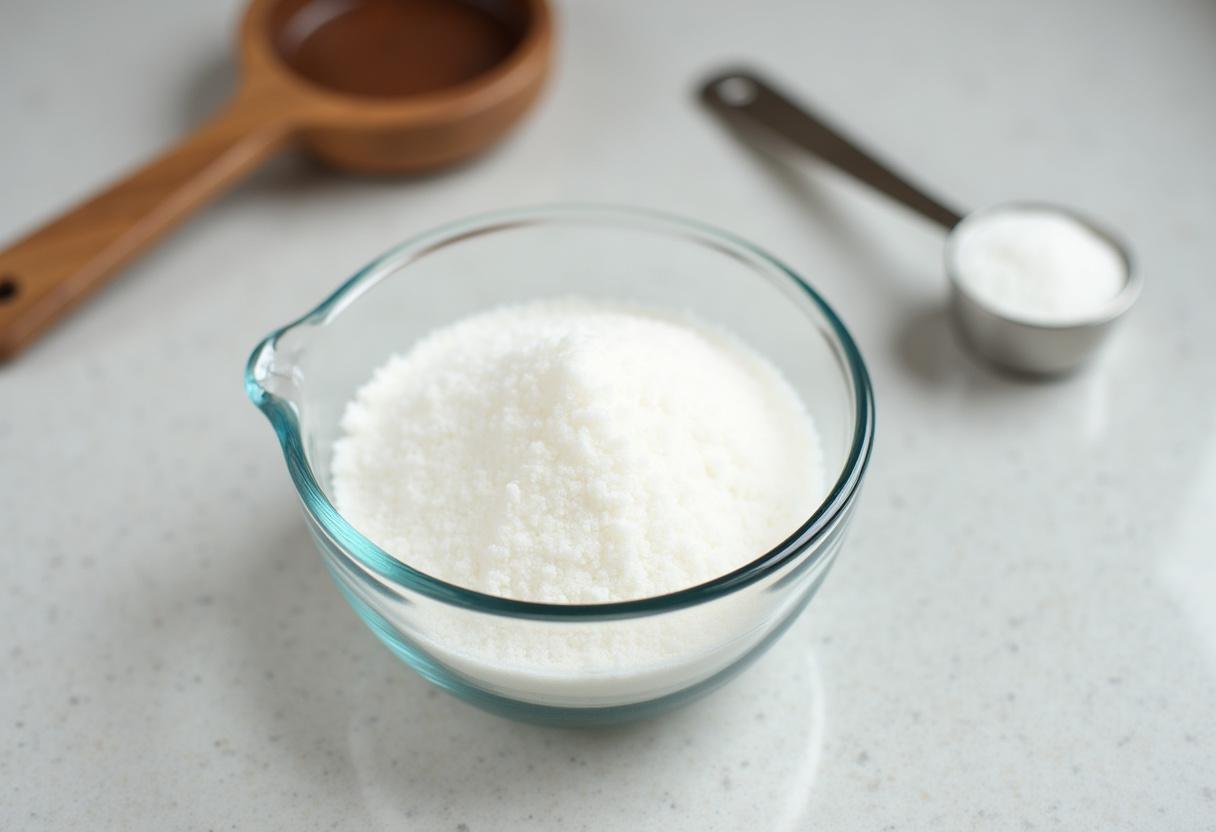
Step 1: Prepare the Sugar Base
Begin by measuring out 2 cups of granulated sugar. For the best results, we recommend using fine granulated sugar rather than coarse varieties, as it will dissolve more completely in the water. If you only have coarse sugar, you can pulse it briefly in a food processor to create a finer texture. The quality of your sugar directly affects the clarity and size of your final crystals, so don’t skip this important preparation step.
Pro Tip: For extra-clear crystals, some candy makers recommend using organic cane sugar, which typically contains fewer impurities than regular white sugar.
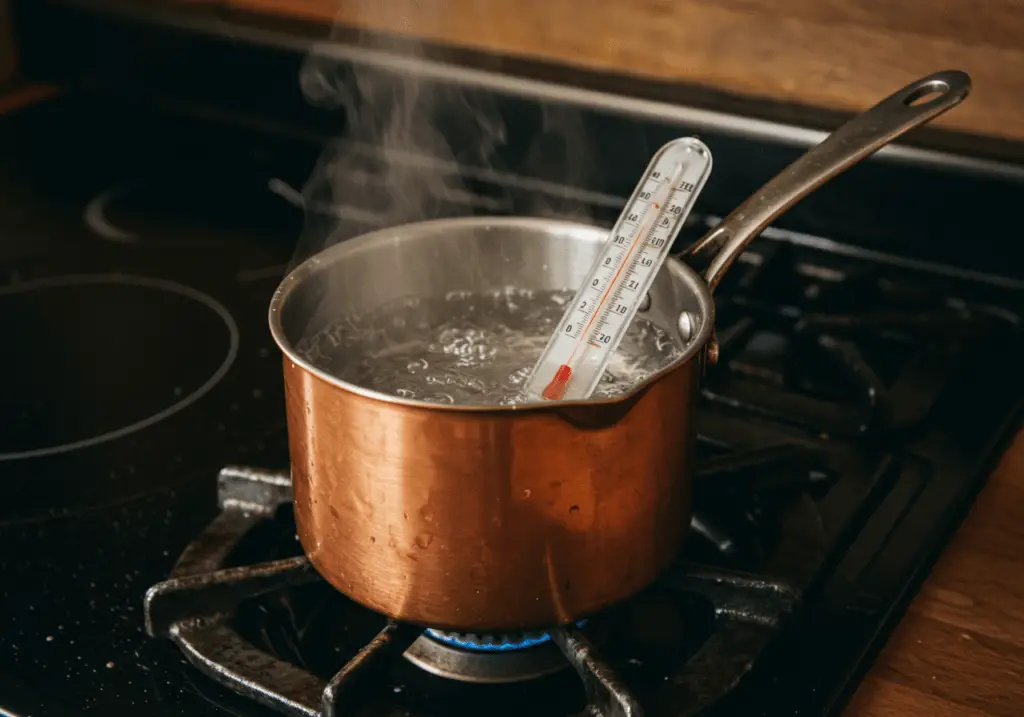
Step 2: Heat the Water
In a medium saucepan, bring 1 cup of water to a rolling boil. Once the water reaches a full boil, reduce the heat to medium-low. This temperature adjustment is crucial – you want the water hot enough to dissolve the sugar completely, but not so hot that it caramelizes. Slowly add the sugar about 1/4 cup at a time, stirring continuously with a wooden spoon or heat-resistant spatula until each addition is completely dissolved before adding more.
This gradual addition helps prevent the sugar from crystallizing prematurely. You’ll know the syrup is ready when it becomes completely clear with no visible sugar granules. The mixture should reach about 230°F (110°C) on a candy thermometer – the thread stage in candy-making terms.
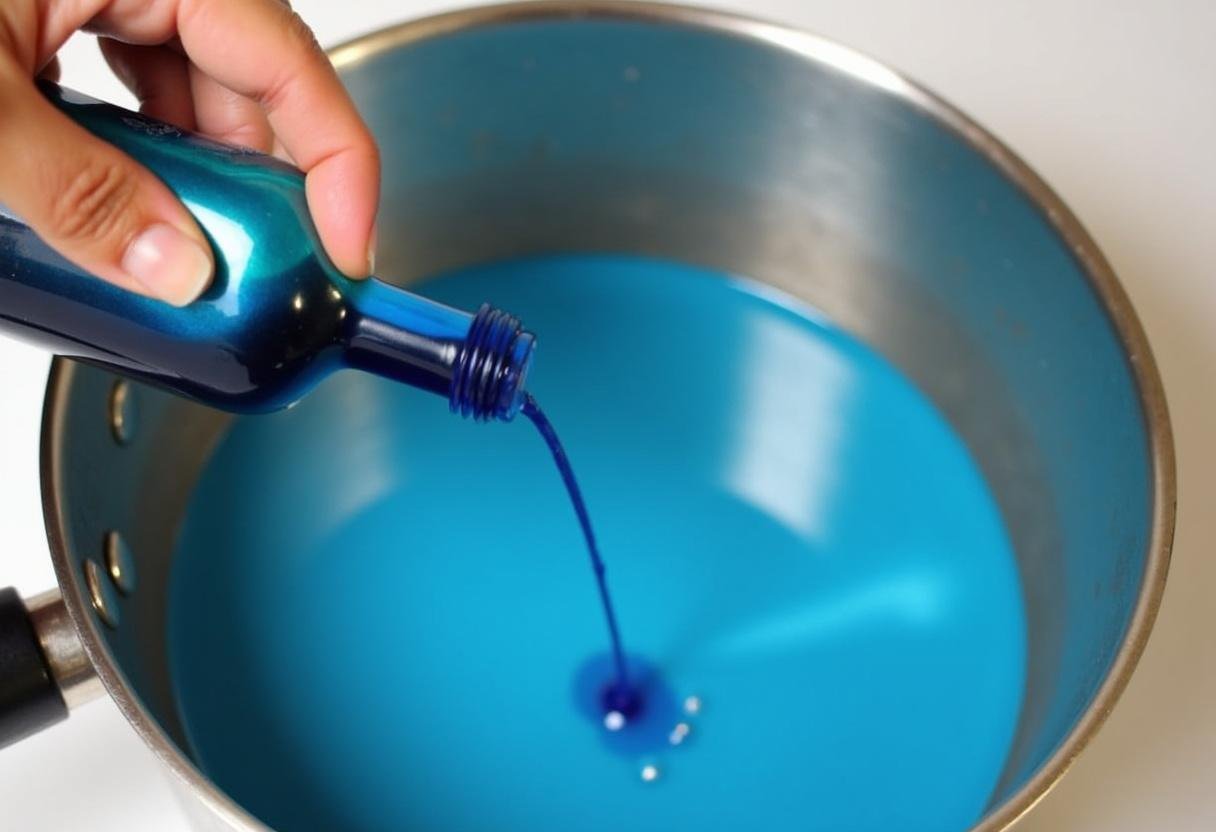
Step 3: Add Blue Food Coloring
Once all the sugar is fully dissolved, remove the saucepan from heat immediately. Now it’s time to create that signature Heisenberg blue color! Add 10-15 drops of blue gel food coloring (more if you want a deeper hue) and stir thoroughly until the color is uniform throughout the syrup. If you’re using liquid food coloring instead of gel, you may need to add more to achieve the same vibrant color.
This is also the time to add any optional flavor extracts. About 1/2 teaspoon of your chosen extract will provide noticeable flavor without making the candy too strong. Blue raspberry extract is particularly appropriate for this recipe, as it complements both the color and the theme. Stir the extract in gently to avoid creating bubbles in your syrup.
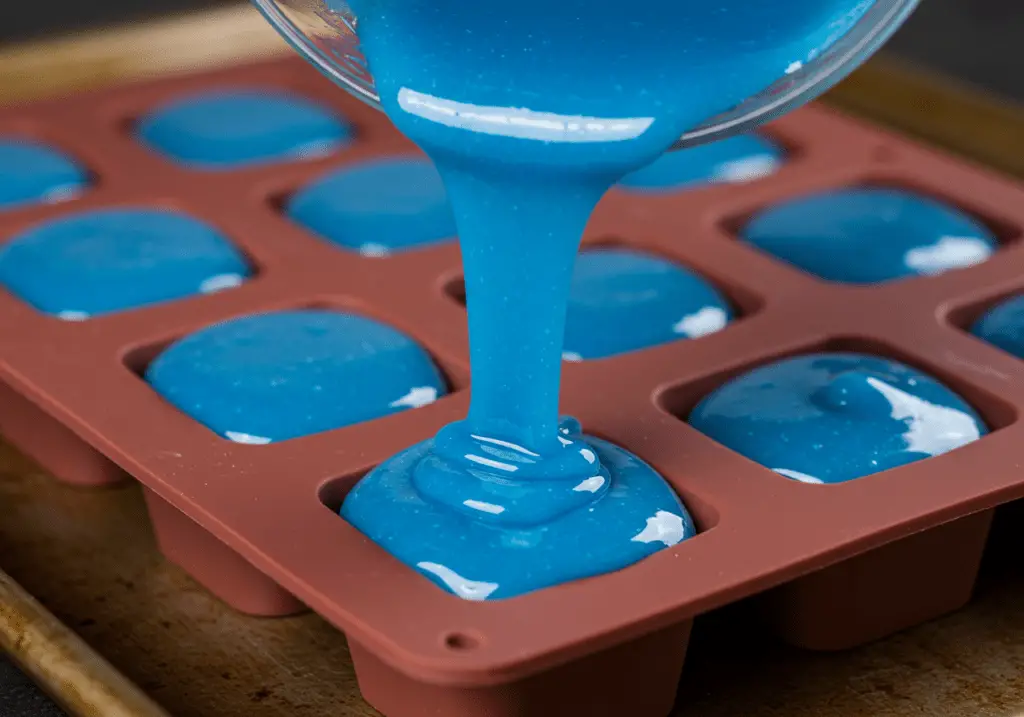
Step 4: Pour into Molds & Let Crystallize
Carefully pour the hot blue sugar syrup into your prepared molds or baking dish. If using silicone molds, place them on a stable, heat-resistant surface first. For a glass baking dish, you might want to lightly grease it with a neutral oil to make removal easier later, though this isn’t strictly necessary.
The key to perfect crystals is patience during the crystallization process. Let the mixture sit completely undisturbed in a cool, dry place for at least 24-48 hours. Cover loosely with a clean kitchen towel or paper towel to keep dust out while allowing moisture to escape. The longer you let it sit (up to about 5 days), the larger your crystals will grow. For the full Breaking Bad effect, once fully hardened, carefully break the candy into irregular shard-like pieces using the back of a spoon or a small hammer.
4. Tips for Perfect Blue Rock Candy
- 💎 For extra-large crystals, let the mixture sit for up to 5 days in a cool, dry place with good air circulation.
- 🔵 Use gel food coloring for a deeper, more vibrant blue that won’t dilute your syrup like liquid coloring can.
- 🧊 Store in an airtight container with silica gel packets to prevent moisture absorption that can make the candy sticky.
- ⚗️ Add edible glitter or luster dust to your syrup before pouring for a sparkling “crystal” effect that catches the light beautifully.
- 🌡️ Use a candy thermometer to ensure your sugar syrup reaches the proper temperature (230°F/110°C) for optimal crystallization.
- 🧂 Try adding a pinch of cream of tartar (about 1/8 teaspoon) to your syrup to help prevent premature crystallization.
5. Serving Suggestions
This blue rock candy recipe offers endless possibilities for creative presentation and serving ideas:
- 🎉 Breaking Bad-themed parties – Display in glass jars labeled with “Blue Sky” or serve on small mirrors for an authentic look
- 🎃 Halloween treats – Package in small plastic bags tied with blue ribbon as “fake” candy props
- 🧪 Science experiment demonstrations – Show kids how supersaturated solutions form crystals
- 🍹 Cocktail garnishes (for adults-only events) – Add to blue cocktails or use as swizzle sticks
- 🎁 Unique gifts – Package in apothecary jars with “Handle With Care” labels for fellow fans
- 📸 Photo props – Create stunning food photography with these vibrant crystals
6. Variations
Once you’ve mastered the basic blue rock candy recipe, try these creative variations:
- Glow-in-the-Dark Candy: Add edible glow powder (available at specialty baking stores) for a cool nighttime effect that would make Walter White proud.
- Flavored Candy: Experiment with different extracts – blue raspberry, cotton candy, or even a touch of mint extract for an unexpected twist.
- Smaller Crystals: Pour into ice cube trays for bite-sized pieces perfect for decorating cakes or cupcakes.
- Layered Colors: Create different shades of blue by dividing your syrup and adding varying amounts of coloring before pouring in layers.
- Crystal Clusters: For a more natural crystal look, pour over a bed of sugar crystals in your mold.
- Spiked Version: For adult gatherings, add a teaspoon of blue curaçao to the syrup before pouring (the alcohol will evaporate but leave the flavor).
7. FAQs
How long does it take for the candy to crystallize?
The crystallization process typically takes 24-48 hours for small to medium crystals. If you’re aiming for larger, more dramatic shards like those seen in Breaking Bad, be prepared to wait up to 5 days. The time can vary based on humidity levels and temperature in your kitchen – lower humidity and warmer temperatures generally speed up the process.
Can I use natural food coloring?
Yes, you can use natural blue food coloring made from spirulina or butterfly pea flower, but be aware that the color may be less vibrant than synthetic blue dye. Natural colors might also shift slightly during the heating process. For the truest “Blue Sky” color, high-quality gel food coloring works best.
Why is my candy sticky?
Sticky candy usually indicates one of three issues: 1) It didn’t dry long enough – give it more time in a dry environment, 2) The humidity was too high during drying – try moving it to a less humid space or using a dehumidifier, or 3) The sugar syrup wasn’t concentrated enough – next time, make sure all sugar is completely dissolved and the syrup reaches at least 230°F.
Can I make this without molds?
Absolutely! While molds give you more control over the final shape, you can simply pour the syrup into a greased glass baking dish and break it into pieces once hardened. For a more natural crystal look, you can even pour it over a bed of sugar crystals in your pan.
Is this recipe safe for kids?
The finished candy is completely safe for children (it’s essentially pure sugar with food coloring), but adult supervision is required during the cooking process as the sugar syrup becomes extremely hot. This can actually be a great opportunity to teach kids about supersaturated solutions and crystal formation!
8. Storage
To keep your blue rock candy looking and tasting its best, store it in an airtight container at room temperature. Adding a silica gel packet to the container can help absorb any ambient moisture and prevent stickiness. Avoid storing in humid environments like refrigerators. Properly stored, your candy should maintain its quality for several weeks, though it’s so delicious it probably won’t last that long!
If your candy does become slightly sticky over time, you can place it in a warm oven (about 150°F/65°C) for 30-60 minutes to dry it out again. Just be careful not to let it get too warm or it may melt.
9. Conclusion
This blue rock candy recipe offers fans a fun, safe, and completely legal way to recreate one of Breaking Bad’s most iconic visuals. Beyond just being a novelty item, it’s actually a fascinating lesson in food science and crystallization. The process of watching sugar molecules arrange themselves into beautiful geometric structures never fails to amaze, whether you’re a science enthusiast, a Breaking Bad fan, or just someone who appreciates unique homemade treats.
What makes this recipe particularly special is its versatility. It can be a science project for kids, a striking party decoration, a conversation-starting dessert, or even a creative gift for fellow fans. The vibrant blue color and crystalline structure make it visually stunning, while the sweet taste makes it genuinely enjoyable to eat (unlike its fictional counterpart!).
So whether you’re hosting a Breaking Bad marathon, planning a chemistry-themed party, or just looking for an unusual candy-making project, this blue rock candy delivers on all fronts. Just remember – while our version may look like Heisenberg’s famous product, the only thing this blue crystal will break is your willpower to stop eating it! 🔵⚗️
For more fun Hollywood-inspired recipes like this one, be sure to check out our other creations at Hollywood Recipes.