
Back to the Future Pizza Rolls: Blast From the Past Snack Attack! 🍕🕰️😋
1. Introduction
Ready for a culinary time warp? These “Back to the Future Pizza Rolls” aren’t just a snack; they’re a delicious DeLorean ride straight back to your childhood, amped up with the irresistible flavors of homemade goodness. Forget those ordinary frozen pizza rolls – we’re cranking things up to eleven! This simple pizza rolls recipe is shockingly easy to whip up, making it ideal for a speedy snack, a totally awesome party appetizer, or a snug movie night binge. Call them homemade pizza rolls, call them a bite of pure joy – just get ready to experience a taste of the past that’s guaranteed to be far out!
2. Why This Pizza Rolls Recipe Rocks
Ever wonder if you could improve the classic pizza roll? It’s time to ditch the store-bought stuff and create something truly extraordinary in your very own kitchen. This pizza rolls recipe totally rocks because it’s:
- Simple: With just a handful of ingredients and super-easy steps, anyone – even a time-traveling novice – can make these.
- Customizable: Unleash your inner mad scientist and add your favorite toppings for a personalized flavor explosion. Think of all the possibilities!
- Delicious: Freshly made and bursting with that perfect cheesy, tomatoey, savory goodness that just hits the spot.
- Fun: This recipe is perfect for getting the kids involved! They’ll love helping (and eating!) these bite-sized pizzas.
If you’re looking for more fun snack ideas, check out our other snack recipes!
3. Ingredients You’ll Need for Homemade Pizza Rolls
Before you embark on your culinary journey “Back to the Future,” make sure you’ve gathered these essential ingredients. Don’t worry, you won’t need a flux capacitor for this recipe!
- Pizza Dough: Store-bought (for convenience) or homemade (for extra credit!), the choice is totally yours. Both will work great for this pizza rolls recipe.
- Pizza Sauce: Use your go-to brand, a family favorite, or even a batch of homemade sauce. For a really special treat, try our Goodfellas Sunday Sauce!
- Mozzarella Cheese: Shredded, for that iconic, gooey, cheese-pull that everyone loves.
- Pepperoni: Sliced into small, easily rollable pieces.
- Olive Oil: For brushing the tops of the rolls to golden-brown perfection.
- Optional: Garlic powder, Italian seasoning, or Parmesan cheese for that extra flavor kick.
4. Step-by-Step Guide to Making Pizza Rolls
Step 1: Prepare Your Dough and Ingredients
Lay out all your ingredients on your work surface, ready to go. Preheat your oven to a toasty 400°F (200°C). Lightly flour your work surface to prevent the dough from sticking and causing a major disruption in the space-time continuum (or, you know, just making a mess). This simple step ensures your pizza rolls recipe starts off smoothly and stays that way.
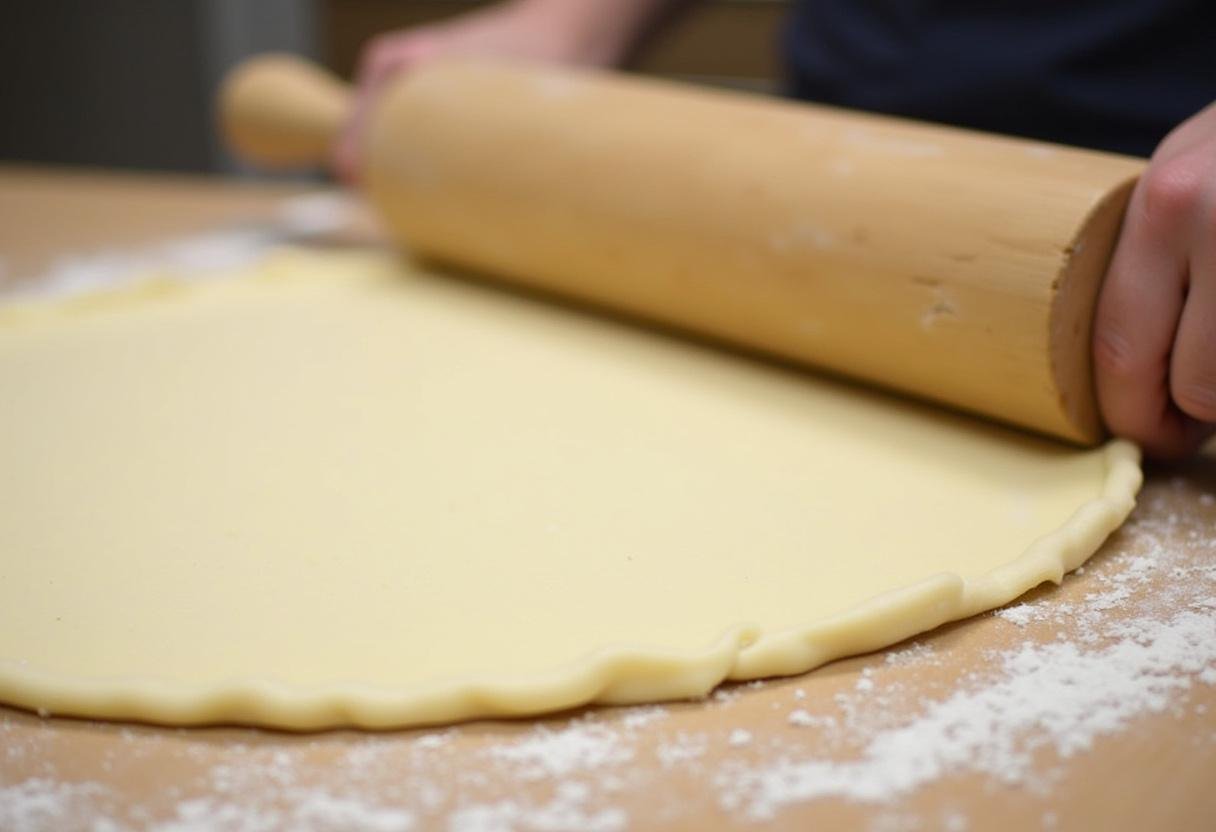
Step 2: Roll Out the Dough
Roll out the pizza dough into a large rectangle, aiming for about 1/8 inch thick. The thinner the dough, the better the roll, as it helps them cook more evenly. Aim for that uniform thickness to guarantee each of your homemade pizza rolls cooks evenly and becomes a golden-brown masterpiece.
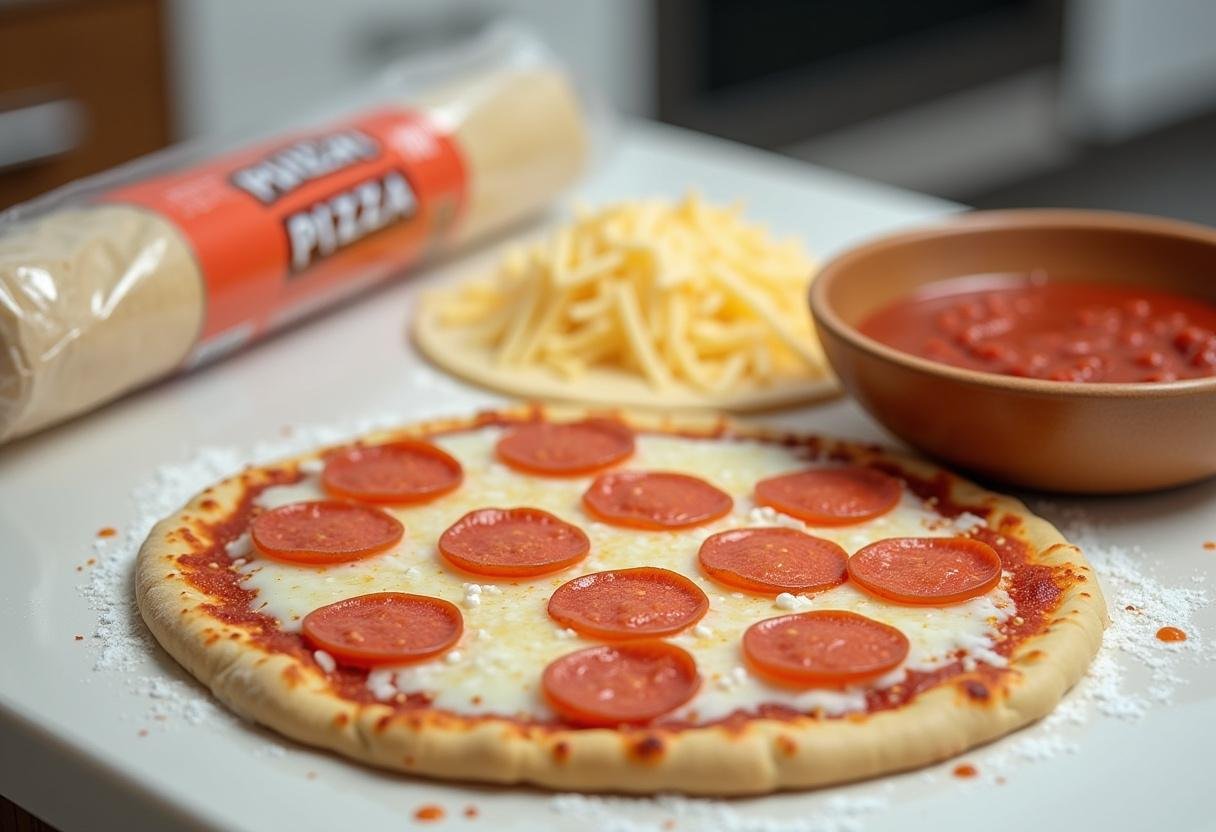
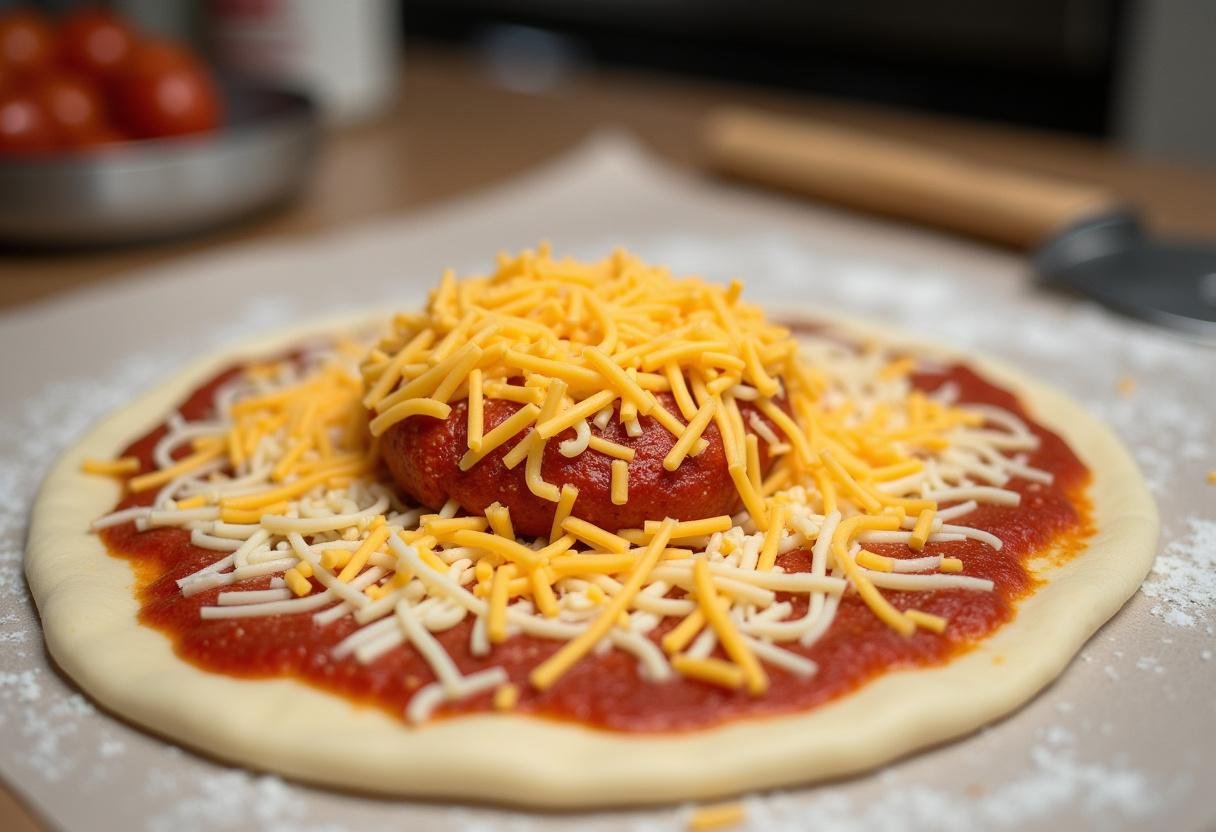
Step 3: Add Sauce, Cheese, and Toppings
Spread a thin, even layer of pizza sauce over the dough, leaving a small, clean border at the edges (this helps with sealing). Sprinkle generously with that glorious mozzarella cheese and then scatter your pepperoni pieces evenly across the saucy, cheesy landscape. These layers are strategically placed to bring out the maximum flavor potential in your pizza rolls recipe, turning each bite into a little explosion of pizza perfection.
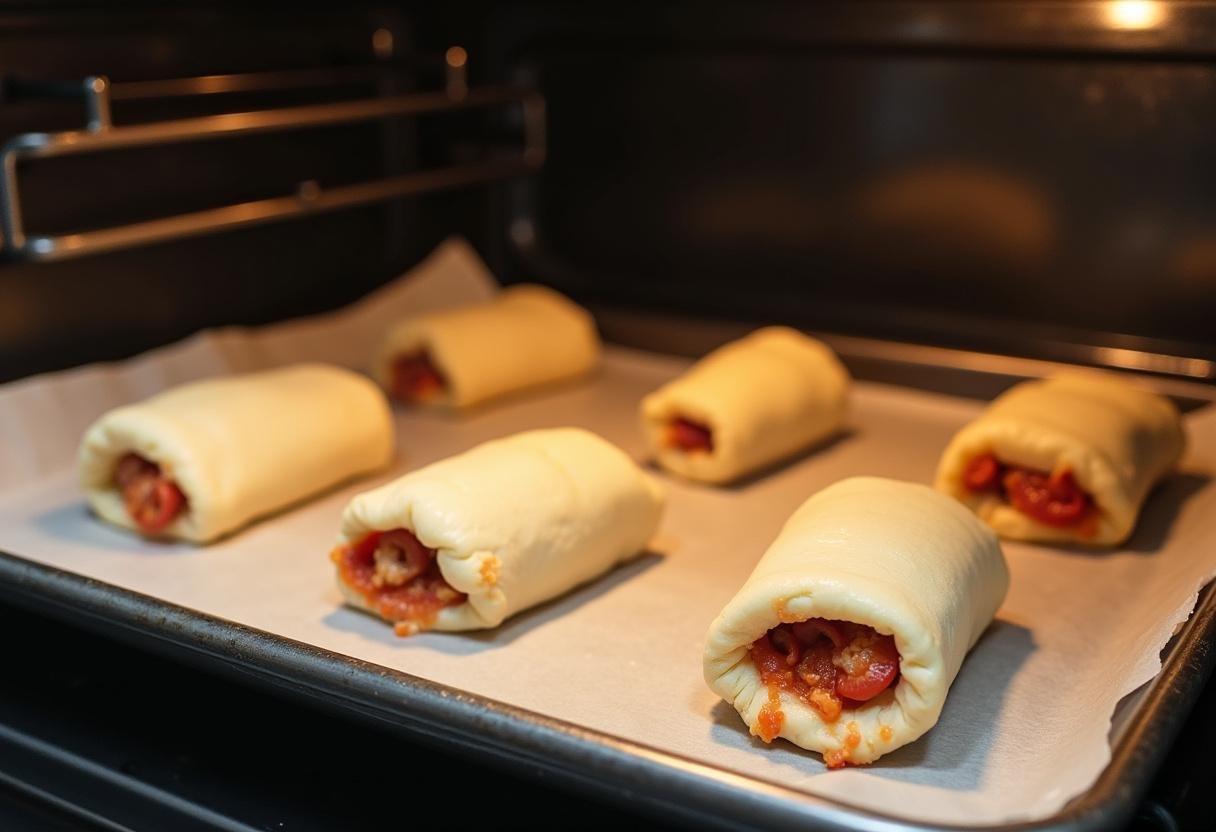
Step 4: Roll, Slice, and Bake
Here comes the fun part! Carefully and tightly roll the dough into a log, kind of like you’re making a giant pizza burrito. Once rolled, slice the log into 1-inch thick rolls. Place your adorable homemade pizza rolls, cut-side up, onto a baking sheet that’s been lined with parchment paper (for easy cleanup and no sticking!). Brush the tops of the rolls gently with olive oil to help them achieve that perfect golden-brown color. Bake in the preheated oven for 12-15 minutes, keeping a close eye on them, or until they’re beautifully golden brown and the cheese is melted, bubbly, and utterly irresistible. Let them cool slightly before devouring!
5. Tips for the Perfect Pizza Rolls Recipe
Want to take your pizza roll game to the next level? Here are a few pro-tips to ensure pizza-roll perfection:
- Don’t Overfill: As tempting as it may be to load them up, too much filling can make the rolls difficult to close properly, and it might result in a soggy, undercooked outcome. Restraint is key!
- Seal the Edges: Make sure that log is tightly sealed before slicing to prevent the filling from escaping during the baking process, turning your baking sheet into a cheesy crime scene.
- Baking Sheet: Using parchment paper is not just for looks; it makes cleanup an absolute breeze and helps prevent those precious rolls from sticking to the pan.
Craving another trip down memory lane? How about some Star Wars Death Star Donuts?
6. Variations and Add-Ins
Now it’s time to unleash your creativity and get a little bit wild with this pizza rolls recipe! Here are just a few totally tubular variations to try:
- Vegetarian: Load them up with mushrooms, colorful bell peppers, black olives, or anything else that strikes your fancy.
- Spicy: Add a kick with sliced jalapeños, a pinch of red pepper flakes, or a drizzle of your favorite hot sauce.
- Meat Lovers: Bacon, sausage, or ham alongside the pepperoni will make a great addition.
Speaking of culinary creativity for lunch, have you seen our Falcon and Winter Soldier Shield Burgers?
7. Serving Suggestions
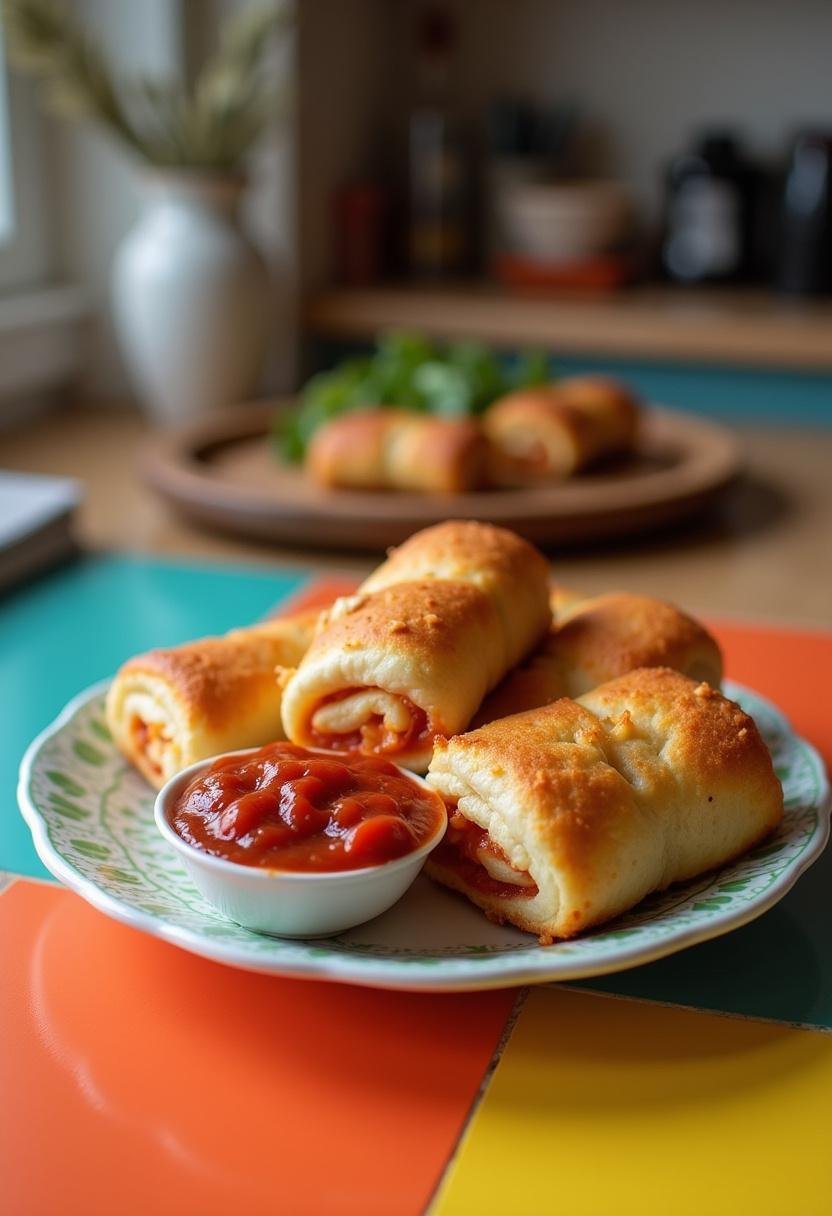
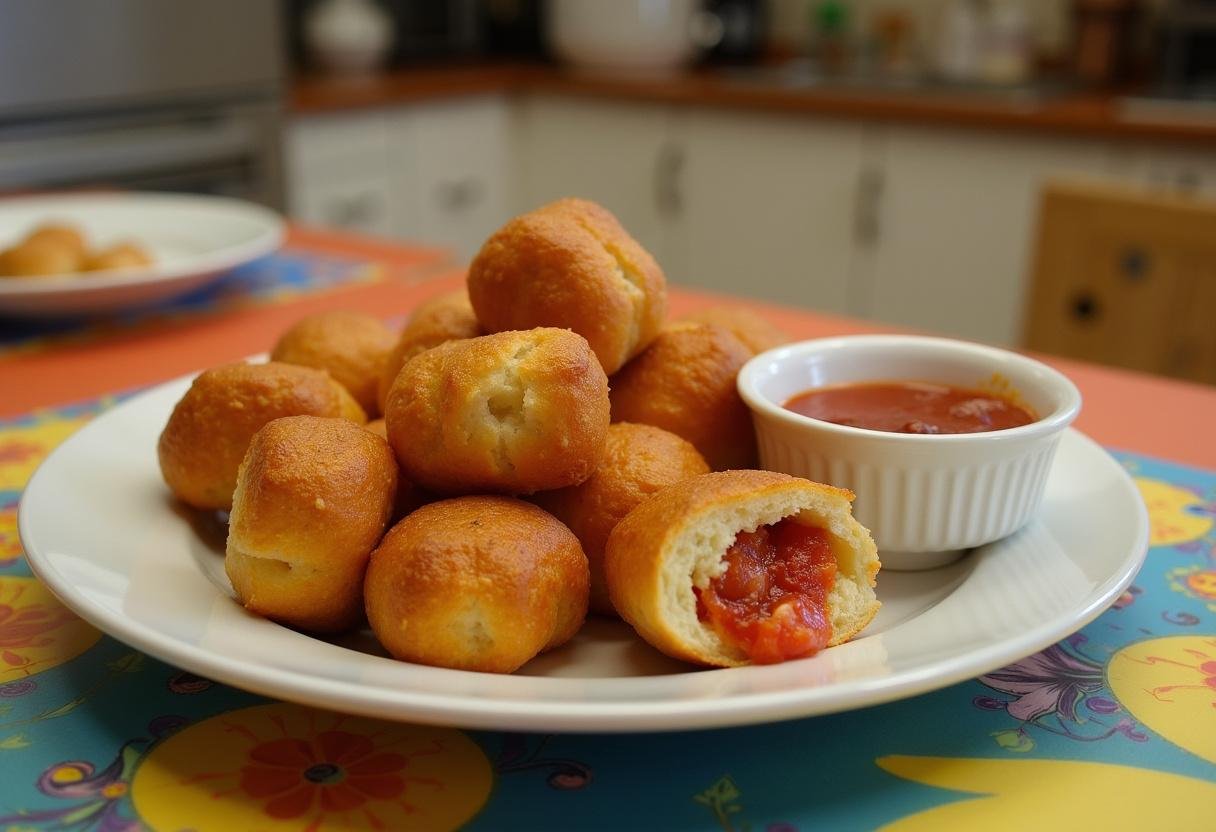
Serve these delightful pizza rolls piping hot, with a generous side of your favorite marinara sauce for dipping. They’re perfect as a quick and satisfying snack, a crowd-pleasing appetizer for parties, or even a light and fun lunch. These easy pizza rolls are guaranteed to be a hit with everyone, from kids to adults!
8. Storing and Reheating
If, by some miracle, you happen to have any leftovers of these delicious homemade pizza rolls (though we highly doubt it!), simply store them in an airtight container in the refrigerator for up to 3 days. When you’re ready to enjoy them again, you can reheat them in the oven for the crispiest results, in the microwave for speed, or even in an air fryer for that perfect balance of crispy and chewy.
9. Conclusion
So there you have it, folks – a fantastic pizza rolls recipe that’s guaranteed to bring a smile to your face and a delightful taste of nostalgia to your palate. Forget about those bland frozen pizza rolls from the store and embrace the joy of making your own homemade, personalized pizza rolls. Enjoy every single bite of your “Back to the Future Pizza Rolls,” remember to have fun creating different variations, and as Doc Brown would say, the future is delicious!
For more information about pizza rolls checkout this article.
If you are looking for another great lunch recipe, try our lunch recipes.
Print
Back to the Future Pizza Rolls
Travel back in time with these delicious Back to the Future Pizza Rolls! Bursting with cheesy flavor and nostalgic goodness, this homemade pizza rolls recipe is perfect for a quick snack, party appetizer, or cozy movie night.
- Total Time: 30 minutes
- Yield: 12 pizza rolls
Ingredients
- Pizza Dough: Store-bought or homemade
- Pizza Sauce: Your favorite brand or homemade
- Mozzarella Cheese: Shredded
- Pepperoni: Sliced
- Olive Oil: For brushing
- Optional: Garlic powder, Italian seasoning, or Parmesan cheese
Instructions
- Preheat your oven to 400°F (200°C) and prepare your work surface.
- Roll out the pizza dough into a large rectangle, about 1/8 inch thick.
- Spread a thin layer of pizza sauce over the dough, then sprinkle with mozzarella cheese and pepperoni.
- Roll the dough tightly into a log, slice into 1-inch thick rolls, and place on a baking sheet.
- Brush the tops with olive oil and bake for 12-15 minutes until golden brown and cheesy.
Notes
- Don’t overfill to prevent soggy rolls.
- Seal the edges tightly to keep filling contained.
- Use parchment paper on the baking sheet for easier cleanup.
- Prep Time: 15 minutes
- Cook Time: 15 minutes
- Category: Snack
- Method: Baking
- Cuisine: Italian
- Diet: Vegetarian
Nutrition
- Serving Size: 2 rolls
- Calories: 200 Kcal
- Sugar: 1g
- Sodium: 350mg
- Fat: 10g
- Saturated Fat: 3g
- Unsaturated Fat: 5g
- Trans Fat: 0g
- Carbohydrates: 24g
- Fiber: 1g
- Protein: 7g
- Cholesterol: 15mg

1 thought on “Back to the Future Pizza Rolls”