

Disney Cinderella’s Pumpkin Carriage Cake Pops: Enchanting & Delicious Halloween Treats 🎃🥿✨
1. Introduction
Discover the magic of Disney with these adorable pumpkin carriage cake pops
If you’re a fan of Disney princess recipes or simply love creating eye-catching desserts, these Disney Cinderella’s pumpkin carriage cake pops are the perfect choice. They are not only delightful to look at but also incredibly tasty. Whether you’re preparing for a themed party, a special occasion, or just want to indulge in a sweet treat, this recipe will surely wow your guests and loved ones. This detailed guide will walk you through every step to make these enchanting pumpkin cake pops that resemble Cinderella’s magical carriage.
2. Ingredients for Disney Cinderella’s Pumpkin Carriage Cake Pops
- 1 box of your favorite vanilla or pumpkin-flavored cake mix
- Frosting (store-bought or homemade)
- Orange and black food coloring
- White chocolate or candy melts
- Small edible gold or silver accents (optional)
- Cake pop sticks
- Mastering your decorating tools? Check out the Fullstar Ultimate Veggie Prep Master for precise decorating prep!
3. Step-by-Step Instructions to Make Pumpkin Cake Pops
Preparing the Cake Base
- Bake the cake as per the instructions on your box, adding orange food coloring for a pumpkin hue.
- Once cooled, crumble the cake into a large mixing bowl.
- Add frosting gradually until the mixture holds together when rolled into balls.
Forming and Cooling
- Roll the cake mixture into small, pumpkin-shaped balls.
- Insert a cake pop stick into each ball.
- Place them on a baking sheet lined with parchment paper and chill in the fridge for at least 2 hours.
Decorating the Pumpkin Carriage Cake Pops
- Melt white chocolate or candy melts in a microwave-safe bowl, following the instructions for using the Ninja SLUSHi Pro RapidChill Drink Maker for quick temperature control.
- Dip each chilled cake pop into the melted chocolate, ensuring full coverage.
- Use black or gold edible accents to create a carriage design, or add white chocolate ribbons.
- Optionally, add edible glitter for a magical Cinderella effect.
4. Storage Tips for Cake Pops
Keep your Disney Cinderella’s pumpkin carriage cake pops stored in an airtight container in the refrigerator for up to 3 days. For longer shelf life, you can freeze them for up to 2 weeks—just make sure to wrap each pop individually in plastic wrap before placing in the freezer. When ready to serve, let them sit at room temperature for about 15 minutes.
5. Serving Suggestions
Display your pumpkin carriage cake pops on a themed platter or inside cute Cinderella-themed treat boxes. For an extra touch of magic, arrange them on a decorative cake stand. They make fantastic party favors for Halloween parties, baby showers, or Disney-themed birthday parties. Pair with a themed drink using the Ninja SLUSHi Pro RapidChill Drink Maker for refreshing beverages that enhance the enchanted experience.
6. Nutritional Information
These pumpkin cake pops are indulgent sweets, rich in sugar and fats. A typical serving contains approximately 150-180 calories, with variations depending on the amount of frosting and chocolate used. For a healthier twist, consider substituting ingredients with low-sugar or gluten-free options. Check out other healthy snack ideas in our snack recipes section.
7. FAQs About Disney Pumpkin Carriage Cake Pops
Can I make these pumpkin carriage cake pops ahead of time?
Yes, they can be prepared up to 2 days in advance. Keep them refrigerated in an airtight container.
Are pumpkin cake pops suitable for kids' parties?
Absolutely! These charming treats are a hit among children, especially at Disney-themed events.
Can I use store-bought cake for convenience?
Yes, store-bought cake works perfectly. Simply crumble and mix with frosting to make the cake pops.
8. Related Recipes
- Severance Waffle Party Waffles
- Wednesday Lurch’s Graveyard Dirt Pudding
- Wednesday Uncle Fester’s Lemon Bars
- Bob’s Burgers Sliders
9. Conclusion
Creating Disney Cinderella’s pumpkin carriage cake pops is a rewarding way to bring a touch of fairy tale magic to your desserts. With a bit of creativity and some simple ingredients, you can craft these adorable treats that are perfect for Halloween, Disney parties, or any celebration that calls for a bit of enchantment. For high-quality baking tools and equipment, check out the Crock-Pot Family-Size Slow Cooker and other kitchen essentials to make the process even easier. Enjoy making and sharing these charming pumpkin cake pops that truly capture the spirit of Disney’s Cinderella!
Print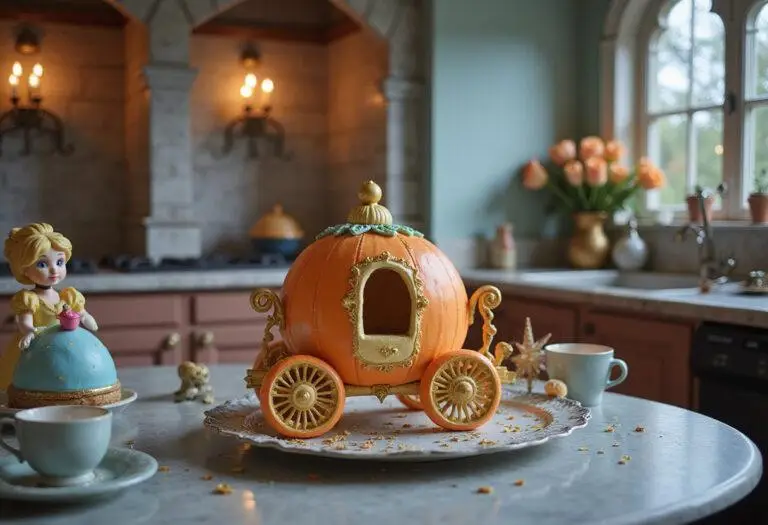
Disney Cinderella’s Pumpkin Carriage Cake Pops
Discover the magic of Disney with these adorable pumpkin carriage cake pops, perfect for Halloween parties, Disney-themed celebrations, or a charming treat for any occasion. These enchanting treats are not only visually stunning but also deliciously tasty, capturing the fairy tale essence of Cinderella’s magical carriage with a delightful pumpkin twist.
- Total Time: 2 hours 55 minutes
- Yield: 20 cake pops
Ingredients
- 1 box of your favorite vanilla or pumpkin-flavored cake mix
- Frosting (store-bought or homemade)
- Orange and black food coloring
- White chocolate or candy melts
- Small edible gold or silver accents (optional)
- Cake pop sticks
- Mastering your decorating tools? Check out the Fullstar Ultimate Veggie Prep Master for precise decorating prep!
Instructions
- Bake the cake as per the instructions on your box, adding orange food coloring for a pumpkin hue.
- Once cooled, crumble the cake into a large mixing bowl.
- Add frosting gradually until the mixture holds together when rolled into balls.
- Roll the cake mixture into small, pumpkin-shaped balls.
- Insert a cake pop stick into each ball.
- Place them on a baking sheet lined with parchment paper and chill in the fridge for at least 2 hours.
- Melt white chocolate or candy melts in a microwave-safe bowl, following the instructions for using the Ninja SLUSHi Pro RapidChill Drink Maker for quick temperature control.
- Dip each chilled cake pop into the melted chocolate, ensuring full coverage.
- Use black or gold edible accents to create a carriage design, or add white chocolate ribbons.
- Optionally, add edible glitter for a magical Cinderella effect.
Notes
- Store the cake pops in an airtight container in the refrigerator for up to 3 days.
- For longer storage, wrap each cake pop individually in plastic wrap and freeze for up to 2 weeks.
- Let them sit at room temperature for about 15 minutes before serving after freezing.
- Prep Time: 30 minutes
- Cook Time: 25 minutes
- Category: Dessert
- Method: Baking, Shaping, Dipping, Decorating
- Cuisine: American
- Diet: Vegetarian
Nutrition
- Serving Size: 1 cake pop
- Calories: 160 Kcal
- Sugar: 14g
- Sodium: 40mg
- Fat: 8g
- Saturated Fat: 4g
- Unsaturated Fat: 3g
- Trans Fat: 0g
- Carbohydrates: 20g
- Fiber: 1g
- Protein: 2g
- Cholesterol: 15mg
