
🧙♂️✨ Harry Potter Decadent Deep-Dish Butterbeer Cheesecake — A Mouthwatering Dessert Worthy of Hogwarts’ Great Hall ✨🧙♀️
1. Introduction
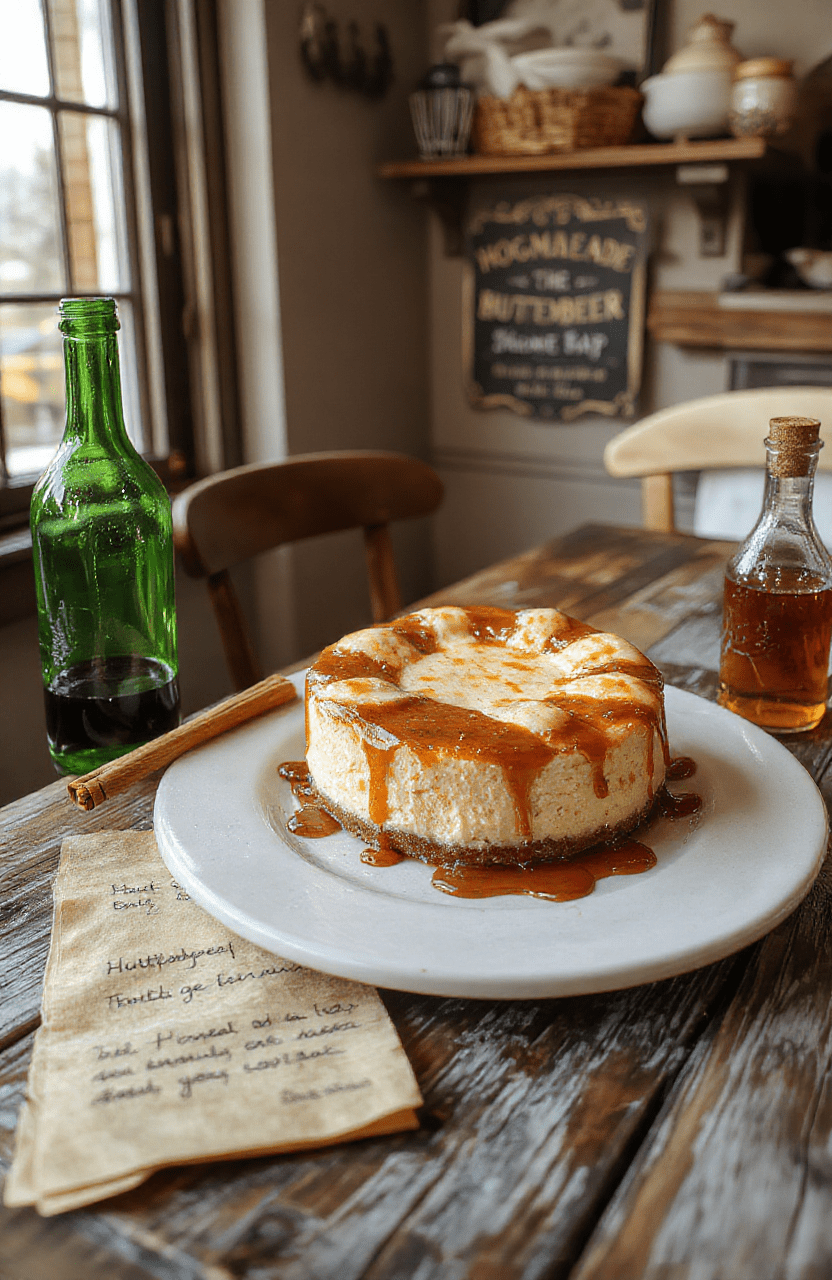
Step into the magic with this Harry Potter butterbeer cheesecake — a lush, velvety deep-dish creation that captures the warm, caramelized sweetness of everyone’s favorite wizarding-world drink. rich with buttery graham cracker crust, a creamy spiced cheesecake filling, and a glossy, butterbeer-infused caramel swirl, every slice tastes like a sip of Hot Butterbeer, paired with the comfort of a perfectly baked apple pie. this isn’t just dessert — it’s culinary enchantment.
crafted with layers of sensory delight — nutty crust, velvety filling, and a ripple of deep amber butterbeer glaze — this deep-dish cheesecake recipe is designed to impress at your next Themed Dinner Party or Book Club Night. whether you’re celebrating a birthday, hosting a Hobbiton Feast, or simply craving a little magic in your kitchen, this butterbeer dessert delivers pure enchanted indulgence.
2. Why You’ll Love This Recipe
- ✅ Deep-Dish Richness — extra-thick, creamy, and satisfying — no soggy crust here!
- ✅ Butterbeer-Infused Magic — real butterbeer (or a rich DIY sim) swirled throughout for authenticity.
- ✅ One-Batch Wonder — crust, filling, and glaze all made in one kitchen session (with room-temperature shortcuts!).
- ✅ Make-Ahead Friendly — tastes even better after an overnight chill, letting flavors meld like a Potion Class simmer.
- ✅ Visually Stunning — golden swirls, caramel drizzle, and a dusting of cinnamon sugar = instant Instagram fame.
3. Kitchen Tools You Need
You don’t need a wand to make magic — just the right tools. These kitchen essentials make this recipe effortless, clean, and consistently professional :
- ✨ T-fal 14-Piece Hard Anodized Nonstick Cookware Set — ideal for melting butter, boiling syrup, and swirling sauces without sticking. The even heat distribution ensures your caramel never burns.
- ✨ KitchenAid Artisan 5-Quart Stand Mixer in Scorched Orange — the secret to ultra-smooth, lump-free cheesecake batter. Tired of arm-wrist strain? This mixer does the heavy lifting while you hum a Hufflepuff anthem.
- ✨ Compact 6-in-1 Digital Air Fryer by Amazon Basics — perfect for toastingcrust crumbs or quick caramelizing. Bonus: keeps your kitchen cool when Ovens are too hot.
- ✨ JoyJolt Airtight Glass Food Storage Set — store leftovers (if there are any!) in style. Stack them in your fridge like potions in Slughorn’s office.
- ✨ Fullstar Ultimate Veggie Prep Master — if you’re adding apple slices (see variations!), this chopper saves minutes and tears.
- ✨ Clever Fox DIY Family Recipe Journal — jot down your swirls, bake times, and tweaks. Make this the new family heirloom recipe!
Pro tip: You can also use a Ninja Foodi Smart XL Indoor Grill & Air Fryer Combo to warm the crust pre-bake — but the oven is ideal for even cheesecake diffusion.
4. Ingredient Notes
Crafting this magical dessert is about quality. While the magic is in the method, the *flavor* lives in the ingredients:
- Graham Crackers — use original for that classic buttery depth. Crush them fine (not too fine — a little texture is good!).
- Unsalted Butter — cold, but melted. Unsalted lets you control the salt level in the glaze. Real European-style butter adds extra richness if you’re feeling fancy.
- Full-Fat Cream Cheese — Philadelphia or local creamery. Softened to room temperature, never warm. Cold cream cheese lumps will haunt your batter forever.
- Air-Dried Heavy Cream — no, not “half-and-half.” You need ≥36% fat for body and bounce. You’ll see the difference in the swirl.
- Butterbeer Flavor Base — we simulate the drink with cream soda + butter + brown sugar + vanilla + cinnamon. You *can* use real Butterscotch Schnapps (1 Tablespoon), but skip it if serving minors — the non-alcoholic version is just as charming.
- Instant Pudding Mix (Vanilla or Butterscotch) — 1 small pouch (3.9 oz). It adds stability and a subtle custard-like depth, like a gentle charm against cracks.
- Vanilla Bean Paste — not extract. The tiny specks? Pure visual enchantment. But vanilla extract works in a pinch.
For a dairy-free version? See Section 7. 🌱
5. How to Make Harry Potter Decadent Deep-Dish Butterbeer Cheesecake
Phase 1: Prep & Crust
Begin by preheating your oven to 325°F (163°C). Spray a 9-inch springform pan thoroughly — inside and base — with nonstick spray, then line the *bottom* with parchment. This prevents leaks (a magical disaster!). In a bowl, combine 1½ cups finely crushed graham crackers, 2 Tablespoons brown sugar, ½ teaspoon cinnamon, and 6 tablespoons melted butter. Stir until it looks like wet sand. Press firmly into the pan base and up ½-inch on the sides. Bake 10 minutes. Cool 15 minutes. The crust should be fragrant — like autumn morning at The Three Broomsticks.
Phase 2: The Creamy Heart
In your mixer (or with a sturdy hand whisk), beat 2 (8-oz) blocks cream cheese until silky — about 2 minutes. Add 1 cup granulated sugar and beat 1 more minute. Scrape bowl. Add ½ cuppacked brown sugar, then 1 tsp vanilla bean paste, 1 tsp vanilla extract, 1 tsp ground cinnamon, and ½ tsp nutmeg. Mix just until combined.
In a separate bowl, whisk 1 cup heavy cream, 2 large eggs (room temp!), and 1 (3.9 oz) instant vanilla pudding mix. Slowly pour this into the cream cheese mixture. Mix on *lowest* speed — we want to minimize air bubbles. Overmixing = cracking. When smooth, stop. Pour over crust.
Phase 3: The Butterbeer Swirl
In a small saucepan, combine ½ cup cream soda, 2 Tablespoons butter, 2 Tablespoons brown sugar, ½ tsp cinnamon, and a pinch of salt. Simmer 3 minutes — it’ll thicken slightly and smell like heaven. Stir in ½ tsp vanilla. Cool 10 minutes.
Spoon dollops of coffee-chocolate-looks-like-molten-core batter onto the cheesecake surface. Use a butter knife or skewer to swirl — swirl in a figure-8 or gentle “S” motion. Don’t over-swirl! You want ribbons, not a uniform mess.
Phase 4: Bake & Chill
Bake 55–65 minutes — *do not open the door for 45 minutes*. The center should be gently jiggly, like Jell-O, not soupy. Turn off the oven, crack the door open with a wooden spoon, and let rest 45 minutes. Then transfer to the fridge. Chill for *at least 8 hours*, preferably overnight. This “set” is what gives it that luscious, sliceable firmness.
Phase 5: Glaze & Serve
Melt 2 Tablespoons butter with ¼ cup cream soda and 2 Tablespoons brown sugar. Cool slightly. Pour over chilled cheesecake. optional: dust with cinnamon sugar. Garnish with edible gold flakes, miniature pumpkin Spice Cookies (see Mirkwood Forest Nut & Honey Cakes), or a tiny wand (a cinnamon stick works!). Slice, serve, and watch the magic unfold.
6. Expert Tips for Success
- Room Temp is Non-Negotiable — cold cream cheese + mixer = lumps. Let it sit 2 hours before use.
- Water Bath? Optional. Some bakers swear by it for prevent cracks. I skip it for this dense version, but if you’re nervous, wrap your springform in 2 layers of foil and place in a roasting pan with 1-inch hot water.
- The Cool-Down Trick — turning off the oven and propping the door open is non-negotiable. rapid temp change = cracks. It works. Trust me.
- Knife Hack — dip a thin-blade knife in hot water between slices.wipe dry. clean edges, every time.
- No Cracks? Add 1 Tbsp cornstarch to the batter — it stabilizes the proteins. No visible proof, just smoother slices.
7. Variations & Substitutions
- Dairy-Free Option — use coconut cream cheese (Kite Hill), coconut cream, and vegan butter. Skip pudding *or* use dairy-free Instant Vanilla Pudding (search for Kudzu Brand). Flavor remains rich.
- Fruit Swirl — add 2 Tablespoons salted caramel sauce (store-bought or homemade) on top of the filling before swirl. Or use strawberry puree for a “Golden Snitch swirl” — pink and shimmering.
- Apple Compote Layer — for a “Hogwarts Lunch” twist, simmer 1 diced apple, 1 tsp cinnamon, 1 Tbsp sugar until soft. Spread over crust before batter.
- Gluten-Free Crust — swap graham for gluten-free graham or almond flour + coconut sugar + butter.
- Mini Cups — bake in muffin tins with parchment liners. Bake 20–25 minutes. Chill 2 hours. Top with mini marshmallows (lightly torch with a kitchen torch) for “foam heads.”
8. Storage & Reheating
Keep covered in the fridge up to 5 days. You can freeze (wrapped tightly in plastic + foil) for up to 1 month. Thaw overnight in the fridge — do not microwave. If serving cold feels too firm, let sit at room temp 15 minutes before slicing.
Want to reheat a slice? Pop it in the Ninja Air Fryer Pro at 300°F for 3–4 minutes. The crust snaps back; the center stays creamy.
9. FAQ
Q: Can I use actual Butterscotch Schnapps or Rum?
A: Absolutely — but for non-alcoholic, just double the cream soda or add 1 tsp vanilla + 1 tsp maple syrup. For adults: swirl in 2–3 Tablespoons after cooking the glaze (let cool 5 minutes first).
Q: Why did my crust get soggy?
A: Springform pans leak. Always line the bottom *and* wrap foil around the *outside* of the base (not the sides) before baking. Also, pre-bake the crust — it creates a barrier.
Q: My cheesecake cracked… is it ruined?
A: Not at all! Just cover it with the butterbeer glaze and toppings. It’ll taste just as amazing. Cracks mean it’s real — perfection is overrated. (And you’ll get extra glaze coverage.)
Q: Can I make this ahead for Christmas or party?
A: Yes — bake and chill up to 3 days early. Add glaze *right before* serving. Or freeze the plain cake (no glaze), thaw overnight, and glaze then.
10. Conclusion
This Harry Potter butterbeer cheesecake is more than dessert — it’s an *experience*. Creamy, spiced, perfectly sweet, and deeply nostalgic, it proves that the magic of cooking lives in every homemade swirl and every joyful bite. Pair it with Crown Royal Tea Sandwiches for a Muggle-to-Wizard spread, or serve alongside Red Light, Green Light Stoplight Cookies for snack-time drama.
So light the wick, pour a glass of warm apple cider, and slice into something delicious. Hogwarts may be closed — but your kitchen? It’s open for business.
Print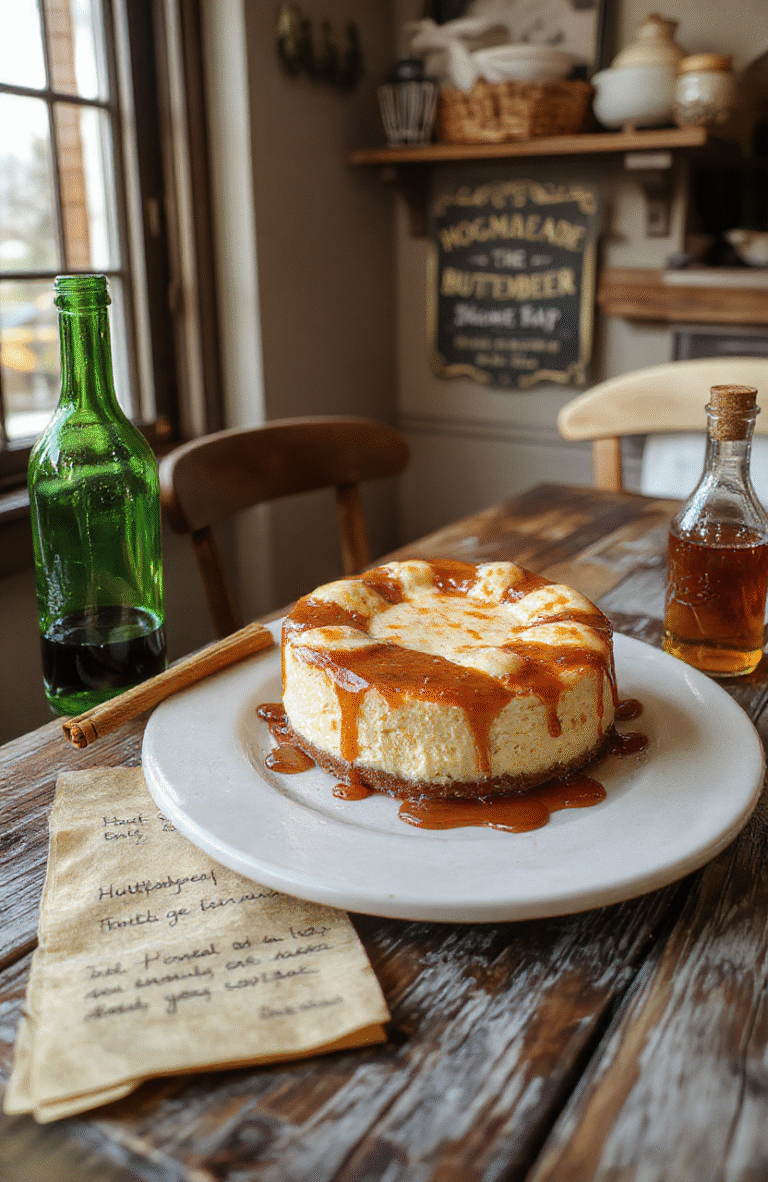
Harry Potter Decadent Deep-Dish Butterbeer Cheesecake
This deep-dish butterbeer cheesecake captures the magic of the Harry Potter world with a rich, spiced butterbeer flavor and a luscious swirl of caramel butterscotch. Perfect for Themed Parties, Halloween, or just a cozy night in.
- Total Time: 2 hr 15 mins (+ chilling)
- Yield: 8 servings
Ingredients
- 1 ½ cups graham cracker crumbs
- ¼ cup granulated sugar
- 6 tbsp unsalted butter, melted
- 3 (8 oz) packages cream cheese, softened
- ¾ cup granulated sugar
- 1 tsp vanilla extract
- 1 cup sour cream
- 2 tbsp unsalted butter, melted & cooled
- 2 tbsp butterscotch sauce
- 1 tsp butter extract (or 1 tbsp real butterscotch chips, melted)
- ¼ tsp ground cinnamon
- Pinch of salt
- 2 large eggs
- ¼ cup butterscotch sauce, for swirl
- Whipped cream & extra butterscotch for topping
Instructions
- Preheat oven to 325°F (163°C). Mix graham cracker crumbs, sugar, and melted butter. Press into bottom and 1 inch up sides of a 9-inch springform pan. Bake 10 minutes. Cool.
- In large bowl, beat cream cheese and ¾ cup sugar until smooth. Add vanilla, sour cream, melted butter, butterscotch sauce, butter extract, cinnamon, and salt; beat until combined.
- Add eggs, one at a time, beating just until blended after each.
- Pour batter into crust. Drizzle with ¼ cup butterscotch sauce; swirl gently with toothpick.
- Bake 50–55 minutes or until center is almost set. Turn off oven; crack door open and let cool 1 hour.
- Refrigerate at least 4 hours or overnight.
- Top with whipped cream and extra butterscotch sauce before serving.
Notes
- For deeper butterbeer flavor, add 2 tbsp dark rum-flavored syrup (optional, non-alcoholic sub: extra butterscotch + 1 tsp molasses).
- Cool completely before removing springform ring to prevent cracking.
- Store covered in fridge up to 5 days.
- Prep Time: 20 mins
- Cook Time: 55 mins
- Method: Baking
- Cuisine: American
- Diet: Vegetarian
Nutrition
- Serving Size: 1 slice
- Calories: 420 Kcal
- Sugar: 28g
- Sodium: 310mg
- Fat: 30g
- Saturated Fat: 17g
- Unsaturated Fat: 11g
- Trans Fat: 0g
- Carbohydrates: 34g
- Fiber: 1g
- Protein: 6g
- Cholesterol: 95mg
