

Joker Put on a Happy Face Painted Sugar Cookies: A Fun and Festive Treat 🎭🍪✨
1. Introduction
Celebrate with Painted Sugar Cookies
Discover the joy of baking painted sugar cookies that are perfect for parties, holidays, or just adding a splash of color to your dessert table. These cookies are not only delicious but also provide an opportunity for fun decorating with vibrant edible paints, making them an ideal choice for kids and adults alike. Whether you’re planning a carnival-themed birthday or a Halloween bash, these Joker-inspired cookies are guaranteed to put a smile on everyone’s face.2. Ingredients
- 1 cup unsalted butter, softened
- 1 cup granulated sugar
- 1 large egg
- 1 teaspoon vanilla extract
- 2 ½ cups all-purpose flour
- 1 teaspoon baking powder
- ½ teaspoon salt
- Food coloring and edible paint for decoration
- Royal icing for outlining and detailing
- Gel food coloring for painting
For more baking inspiration and tools, check out baking resources and decorating tips.
3. Step-by-Step Instructions for Painted Sugar Cookies
Preparation of Cookie Dough
- In a large bowl, cream together butter and sugar until light and fluffy.
- Add in egg and vanilla extract, mixing well.
- In a separate bowl, whisk together flour, baking powder, and salt.
- Gradually add the dry ingredients to the wet mixture, mixing until a smooth dough forms.
- Divide the dough into two discs, wrap in plastic wrap, and chill for at least 1 hour.
Cutting and Baking the Cookies
- Preheat your oven to 350°F (175°C).
- Roll out the dough on a floured surface to about ¼ inch thickness.
- Use a joker or smiley face cookie cutter to shape the cookies.
- Place the cookies on a baking sheet lined with parchment paper.
- Bake for 8-10 minutes or until edges are golden brown.
- Allow cookies to cool completely before decorating.
Decorating the Joker Face
- Outline the faces with royal icing in black and let it dry completely.
- Use edible paints and gel food colors to add vibrant details to create a cheerful joker face, ensuring you incorporate a variety of colors for a lively look.
- Allow the painted designs to dry thoroughly before handling or serving.
4. Storage Tips for Painted Sugar Cookies
Store these painted sugar cookies in an airtight container at room temperature for up to 3 days. For longer storage, keep them in the refrigerator for up to a week. Place parchment paper between layers to prevent sticking, and ensure decorations are completely dry before stacking.
5. Serving Suggestions for Happy Face Decorated Sugar Cookies
Serve these playful cookies on colorful platters or in themed gift boxes. They make perfect additions to dessert tables at birthday parties or holiday gatherings. Pair your painted sugar cookies with a glass of milk, hot cocoa, or themed punch for a delightful treat. For a complete party experience, explore our waffle party recipes or Tatooine stew for savory options.
6. Nutritional Information
Each painted sugar cookie contains approximately:
- Calories: 150-200 kcal
- Carbohydrates: 20-25 grams
- Protein: 2-3 grams
- Fat: 7-10 grams
- Sugar: 10-15 grams
Remember, the vibrant decoration adds extra sugar and coloring, so enjoy in moderation. For a healthier alternative, consider substituting some ingredients or using organic food colorings.
7. FAQs About Painted Sugar Cookies
How do I achieve smooth painted designs on sugar cookies?
Use high-quality gel food colors and edible paints, and make sure the royal icing is completely dry before painting. Using fine brushes will give you better control for detailed designs.
Can I make painted sugar cookies ahead of time?
Yes, decorate the cookies at least 24 hours before serving to allow the paint to set completely. Store in an airtight container to keep them fresh and prevent smudging.
Are painted sugar cookies suitable for kids?
Absolutely! As long as you use edible and food-grade paints, these cookies are safe and fun for children to enjoy and decorate.
8. Related Recipes for Creative Baking Inspiration
9. Conclusion
Crafting **painted sugar cookies** like the Joker put on a happy face is a rewarding and enjoyable experience that combines baking artistry with delicious treats. Perfect for celebrations or just a fun baking project, these cookies are sure to impress everyone with their vibrant colors and whimsical faces. Remember to gather all your decorating supplies, be patient as the icing and paints dry, and most importantly, have fun bringing your creative visions to life. For more inspired baking ideas and delicious recipes, be sure to explore our website’s extensive collection of creative treats and sweets.
Print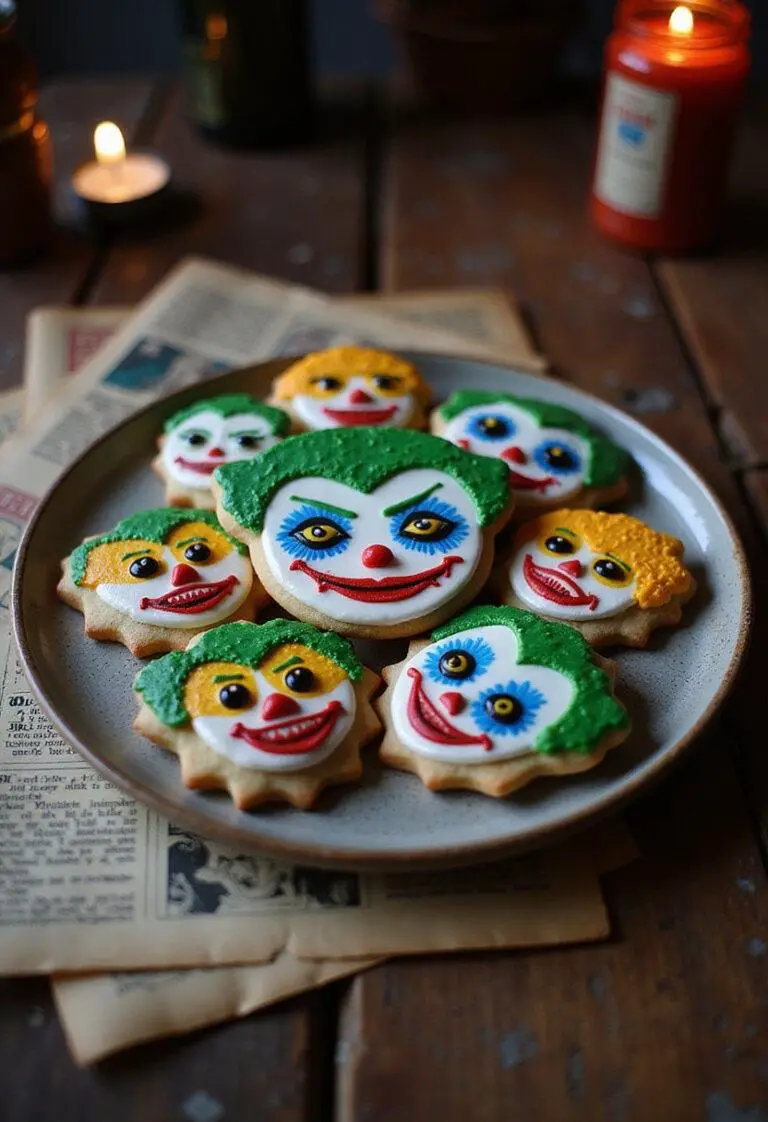
Joker Put on a Happy Face Painted Sugar Cookies
Discover the fun and festive art of decorating Joker Put on a Happy Face Painted Sugar Cookies. These colorful, whimsical cookies are perfect for parties, holidays, or any celebration where you want to bring a smile to everyone’s face. With vibrant edible paints and royal icing details, they are a delightful project for bakers of all skill levels seeking creative and delicious treats.
- Total Time: 1 hour 30 minutes
- Yield: 24 cookies
Ingredients
- 1 cup unsalted butter, softened
- 1 cup granulated sugar
- 1 large egg
- 1 teaspoon vanilla extract
- 2 ½ cups all-purpose flour
- 1 teaspoon baking powder
- ½ teaspoon salt
- Food coloring and edible paint for decoration
- Royal icing for outlining and detailing
- Gel food coloring for painting
Instructions
- In a large bowl, cream together butter and sugar until light and fluffy.
- Add egg and vanilla extract, mixing well.
- In a separate bowl, whisk together flour, baking powder, and salt.
- Gradually add dry ingredients to wet mixture, mixing until dough forms.
- Divide dough into two discs, wrap in plastic wrap, and chill for at least 1 hour.
- Preheat oven to 350°F (175°C).
- Roll out the dough on a floured surface to about ¼ inch thickness.
- Use a joker or smiley face cookie cutter to shape cookies.
- Place on a parchment-lined baking sheet and bake for 8-10 minutes until edges are golden brown.
- Allow cookies to cool completely before decorating.
- Outline the faces with royal icing in black and let dry.
- Use edible paints and gel food colors to add vibrant and whimsical facial features, ensuring each design is dry before handling.
Notes
- Store decorated cookies in an airtight container at room temperature for up to 3 days.
- For longer storage, refrigerate in an airtight container for up to 1 week.
- Place parchment paper between layers to prevent sticking.
- Ensure royal icing and paint are completely dry before stacking or serving.
- Prep Time: 20 minutes
- Cook Time: 10 minutes
- Category: Dessert
- Method: Baking and Decorating
- Cuisine: American
- Diet: Vegetarian
Nutrition
- Serving Size: 1 cookie
- Calories: 160 kcal Kcal
- Sugar: 12 grams
- Sodium: 50 mg
- Fat: 8 grams
- Saturated Fat: 5 grams
- Unsaturated Fat: 3 grams
- Trans Fat: 0 grams
- Carbohydrates: 20 grams
- Fiber: 1 gram
- Protein: 2 grams
- Cholesterol: 20 mg
