
Peter Pan’s Neverland Map Cookies: Delightful & Magical 🍪🗺️✨
1. Introduction
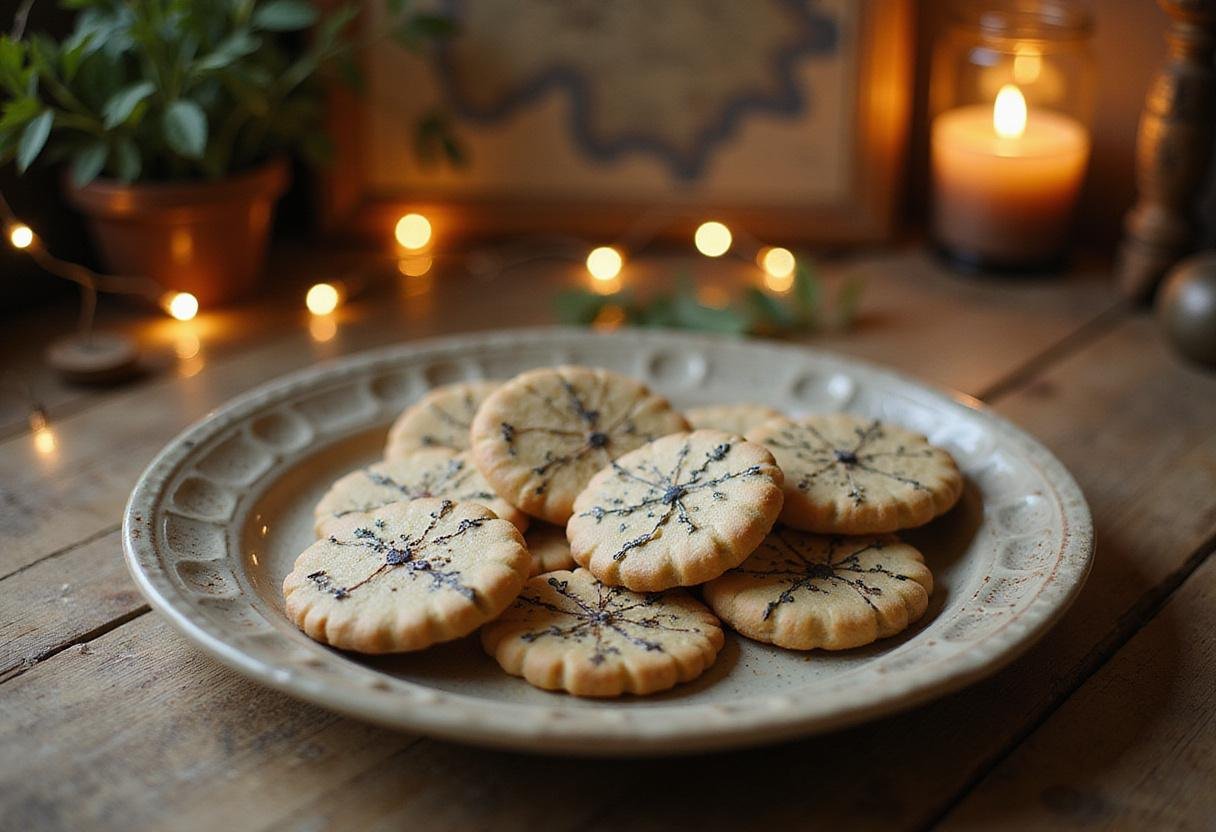
Unleash Your Inner Child with Peter Pan’s Neverland Map Cookies
Are you dreaming of a whimsical treat perfect for a Neverland party? These enchanting map cookies are not only delightful to look at but also delicious to eat, making them an ideal Peter Pan recipes for fairy-tale-themed gatherings. With vibrant colors, edible maps, and a touch of magic, these cookies will transport your guests straight to Neverland!2. Ingredients
- 2 ½ cups all-purpose flour
- 1 cup unsalted butter, softened
- 1 cup granulated sugar
- 1 large egg
- 1 teaspoon vanilla extract
- Food coloring (green, blue, brown, black)
- Royal icing or colored icing for decorating
- Edible markers or gel pens for drawing
- Optional: sprinkles or edible glitter for extra magic
For more kitchen essentials, consider browsing the CAROTE Premium 16pc Nonstick Cookware Set to make your baking experience seamless.
3. Step-by-Step Instructions
Preparing the Cookie Dough
- In a large mixing bowl, combine the butter and sugar until creamy. Use a stand mixer like the KitchenAid Classic Iconic Stand Mixer for smooth results.
- Add the egg and vanilla extract, blending well.
- Gradually mix in the flour until the dough forms. Wrap in plastic wrap and chill for at least 1 hour.
Shaping and Coloring
- Preheat your oven to 350°F (175°C). Line baking sheets with parchment paper.
- Divide the dough into portions and tint each with food coloring to match your map design (green for forests, blue for water, brown for land). Use Fullstar Ultimate Veggie Prep Master for efficient prep.
- Roll out dough on a lightly floured surface to about ¼ inch thickness.
Cutting and Baking
- Use a large round or rectangle cookie cutter to shape your map cookies.
- Arrange on baking sheets and bake for 10-12 minutes or until golden around the edges.
- Let cookies cool completely before decorating.
Decorating
- Use royal icing or colored icing to draw map details, such as rivers, islands, and landmarks. Edible markers can help you create intricate features.
- Add touches like glitter for sparkle or sprinkles for additional flair.
- For extra magic, create tiny pirate ships or fairy silhouettes for personalized decor.
4. Storage Tips
Store your Peter Pan’s Neverland Map Cookies in an airtight container at room temperature for up to 3 days. To keep them fresh longer, separate layers with parchment paper and refrigerate for up to a week. For longer storage, freeze the cookies and re-decorate when needed.
5. Serving Suggestions
Present your magic map cookies on a themed platter or place them alongside other Neverland party foods. Pair with fairy punch or a tropical juice bar for added fun. These cookies are perfect for kid’s birthdays, fairy-tale gatherings, or enchanted movie nights.
6. Nutritional Information
Each cookie contains approximately 150 calories, with moderate amounts of sugar and fat. To make healthier options, consider reducing sugar or substituting with natural sweeteners. For baking equipment, check out the Ninja SLUSHi Pro RapidChill Drink Maker for refreshing beverages to serve with your treats.
7. FAQs (Frequently Asked Questions)
How do I make edible map details on cookies?
Use edible markers or gel pens to draw detailed maps on your cooled cookies. For more vibrant designs, layer royal icing with food coloring and use piping tips for precision.
Can I prepare these Peter Pan map cookies in advance?
Yes, you can bake and decorate the cookies up to 2 days ahead. Store them in an airtight container to maintain freshness. Re-decorate with additional icing if needed before serving.
Are there gluten-free options for making map cookies?
Absolutely! Swap regular flour for gluten-free flour blends. Look for trusted brands like King Arthur Baking (Ultimate Bread Baker’s Cookbook) for gluten-free baking tips and recipes.
8. Related Recipes
- Blueberry Muffins – Perfect for starting your Neverland breakfast.
- Graveyard Dirt Pudding – A spooky treat for themed parties.
- Hot Wings – Add some fiery fun to your adventure menu.
9. Conclusion
Creating Peter Pan’s Neverland Map Cookies is a fun and engaging way to elevate any Neverland party or fairy-tale gathering. With their colorful designs and magical details, these map cookies will transport your guests to a world of imagination and adventure. Explore creative decorating techniques, use quality baking tools like the Crock-Pot Family-Size Slow Cooker for easy prep, and indulge in the magic of homemade Peter Pan recipes!
Print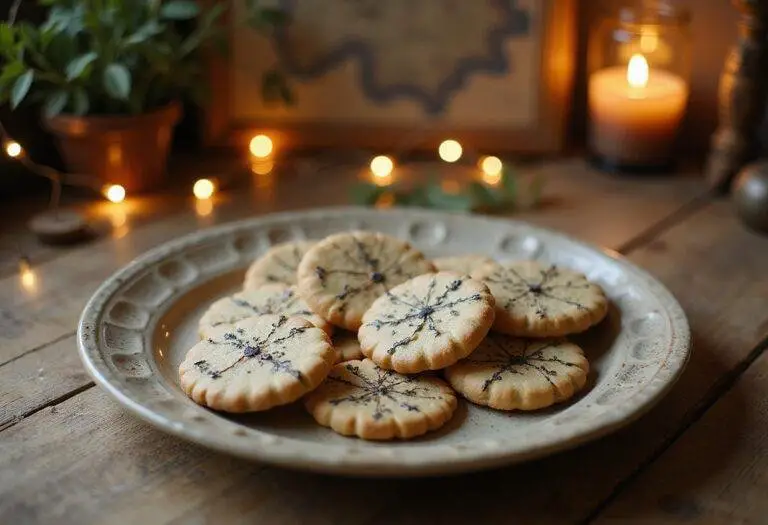
Peter Pan’s Neverland Map Cookies
Experience the magic of Neverland with Peter Pan’s Neverland Map Cookies, a whimsical and enchanting treat perfect for fairy-tale-themed parties and adventures. These delightful cookies feature vibrant map designs, edible details, and a touch of imagination, making them a fun and magical addition to any celebration.
- Total Time: 1 hour 15 minutes
- Yield: 12-15 cookies
Ingredients
- 2 ½ cups all-purpose flour
- 1 cup unsalted butter, softened
- 1 cup granulated sugar
- 1 large egg
- 1 teaspoon vanilla extract
- Food coloring (green, blue, brown, black)
- Royal icing or colored icing for decorating
- Edible markers or gel pens for drawing
- Optional: sprinkles or edible glitter for extra magic
Instructions
- In a large mixing bowl, combine the butter and sugar until creamy. Use a stand mixer like the KitchenAid Classic Iconic Stand Mixer for smooth results.
- Add the egg and vanilla extract, blending well.
- Gradually mix in the flour until the dough forms. Wrap in plastic wrap and chill for at least 1 hour.
- Preheat the oven to 350°F (175°C). Line baking sheets with parchment paper.
- Divide the dough into portions and tint each with food coloring to match your map design—green for forests, blue for water, brown for land. Use fullstar Ultimate Veggie Prep Master for efficient prep.
- Roll out dough on a lightly floured surface to about ¼ inch thickness.
- Use a large round or rectangle cookie cutter to shape your map cookies.
- Arrange on baking sheets and bake for 10-12 minutes or until golden around the edges. Let cookies cool completely before decorating.
- Use royal icing or colored icing to draw map details, such as rivers, islands, and landmarks. Edible markers can help create intricate features.
- Add touches like glitter or sprinkles for extra sparkle and flair. For an enchanted touch, add tiny pirate ships or fairy silhouettes for decoration.
Notes
- Chill the dough for at least 1 hour for easier handling and better shaping.
- Decorate cookies once completely cooled to avoid smudging icing designs.
- Store in an airtight container at room temperature for up to 3 days or refrigerate for longer freshness.
- You can prepare the cookies and decorate them a day in advance.
- Prep Time: 1 hour
- Cook Time: 10-12 minutes
- Category: Dessert
- Method: Baking and Decorating
- Cuisine: American
- Diet: Vegetarian
Nutrition
- Serving Size: 1 cookie
- Calories: 150 kcal Kcal
- Sugar: 10 g
- Sodium: 50 mg
- Fat: 8 g
- Saturated Fat: 5 g
- Unsaturated Fat: 3 g
- Trans Fat: 0 g
- Carbohydrates: 18 g
- Fiber: 0.5 g
- Protein: 2 g
- Cholesterol: 25 mg
