
Rick and Morty Pickle Rick Brined Chicken: A Tangy, Juicy, and Wubba Lubba Dub-Dub Delight! 🍗🥒🔥
1. Introduction
Welcome to the ultimate Pickle Rick brined chicken recipe inspired by the iconic “Rick and Morty” episode where Rick famously turned himself into a pickle! This isn’t just another chicken recipe – it’s a culinary adventure that transforms ordinary poultry into an extraordinary, tangy, and juicy masterpiece. The pickle-infused brine creates flavors so bold they’ll make your taste buds scream, “I turned myself into a pickle, Morty!” Perfect for fans of the show or anyone who loves intense, mouthwatering flavors, this recipe guarantees a succulent, flavorful chicken with a crispy golden skin that’s truly out of this dimension.
2. Ingredients
For the Pickle Rick brined chicken that will make you feel like a culinary genius (just like Rick Sanchez), you’ll need:
- 1 whole chicken (3-4 lbs) – look for organic or free-range for best results
- 4 cups high-quality pickle juice (from dill pickles – the brine is key!)
- 2 cups filtered water
- ¼ cup kosher salt (don’t substitute table salt here)
- 2 tbsp sugar (balances the tanginess)
- 4 garlic cloves, smashed (releases more flavor)
- 1 tbsp black peppercorns (whole for best infusion)
- 1 bunch fresh dill (the fresher the better)
- 1 tsp red pepper flakes (optional, for those who like dimension-hopping heat)
- 2 tbsp olive oil (for that perfect golden roast)
As many Rick and Morty fans on Reddit have discovered, the quality of your pickle juice makes all the difference in this recipe. Don’t skimp on this key ingredient!
3. Step-by-Step Instructions
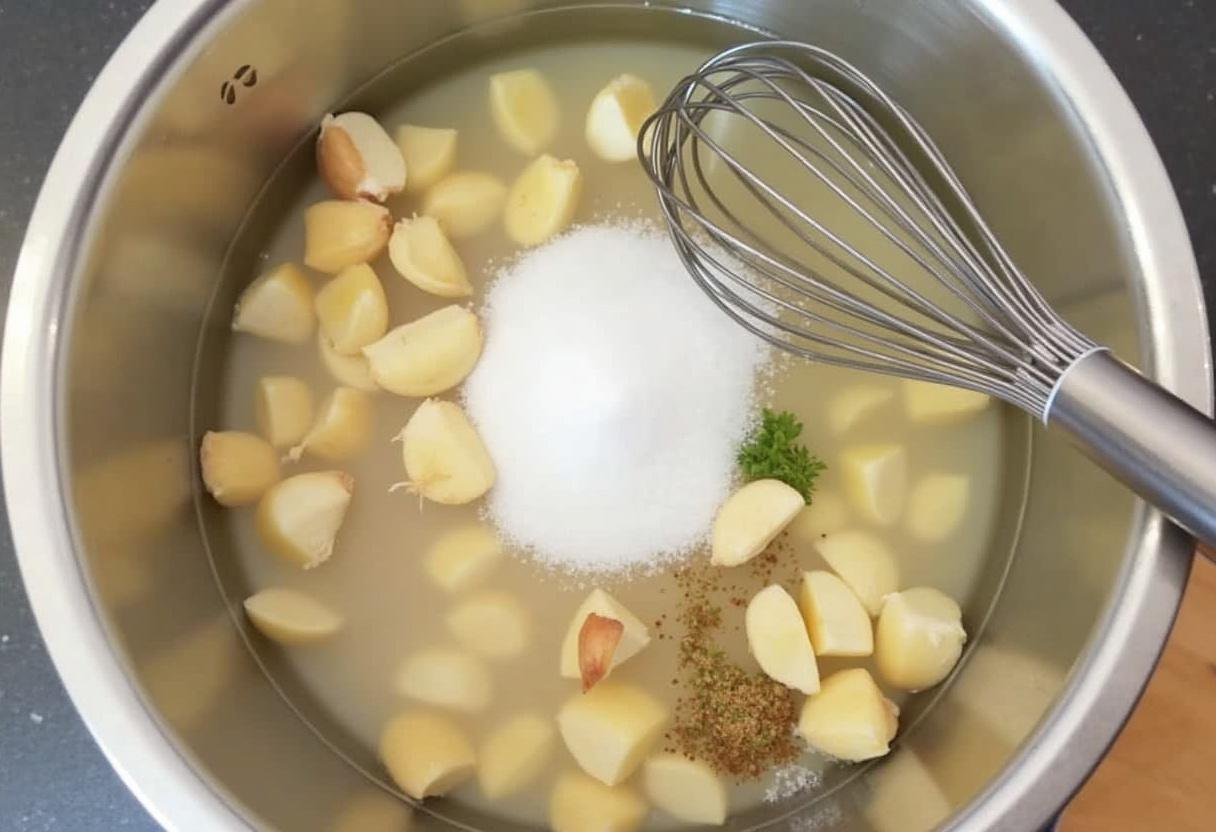
Step 1: Prepare the Pickle Rick Brine
In a large bowl or pot (big enough to hold your chicken later), combine the pickle juice, water, kosher salt, sugar, smashed garlic, black peppercorns, fresh dill, and red pepper flakes (if you’re feeling adventurous). Stir vigorously until the salt and sugar dissolve completely – this might take a couple minutes. The brine should be cloudy and aromatic, promising to infuse your chicken with those tangy, savory flavors that made Pickle Rick so memorable. Pro tip: warm the water slightly first to help dissolve the salt and sugar faster.
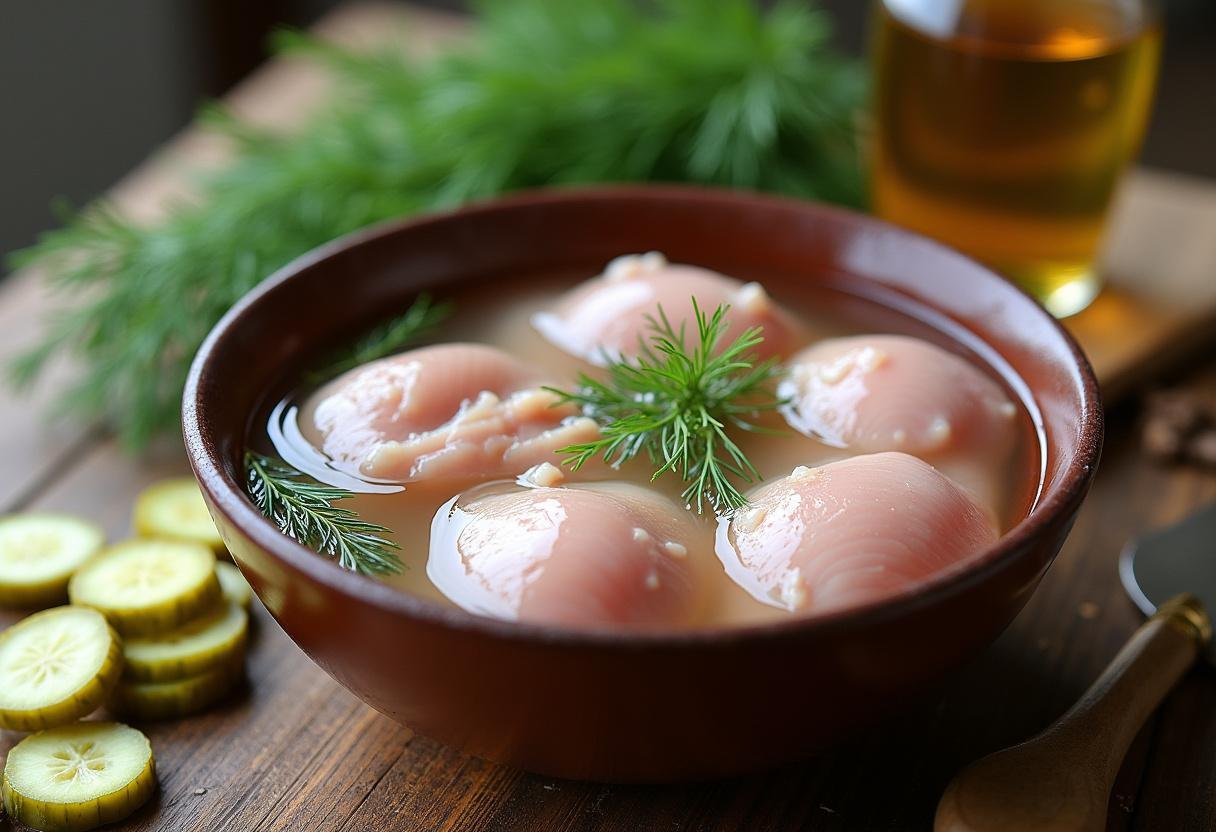
Step 2: Brine the Chicken
Place your whole chicken in a large resealable bag (the heavy-duty kind) or a non-reactive container (glass or stainless steel work best). Carefully pour the prepared brine over the chicken, making sure it’s fully submerged – you might need to weigh it down with a plate or clean object. Seal tightly and refrigerate for at least 12 hours (overnight is ideal), or up to 24 hours for maximum Pickle Rick-worthy flavor penetration. This slow brining process is what transforms ordinary chicken into something extraordinary – the pickle juice works its magic, tenderizing the meat while infusing it with that signature tang.
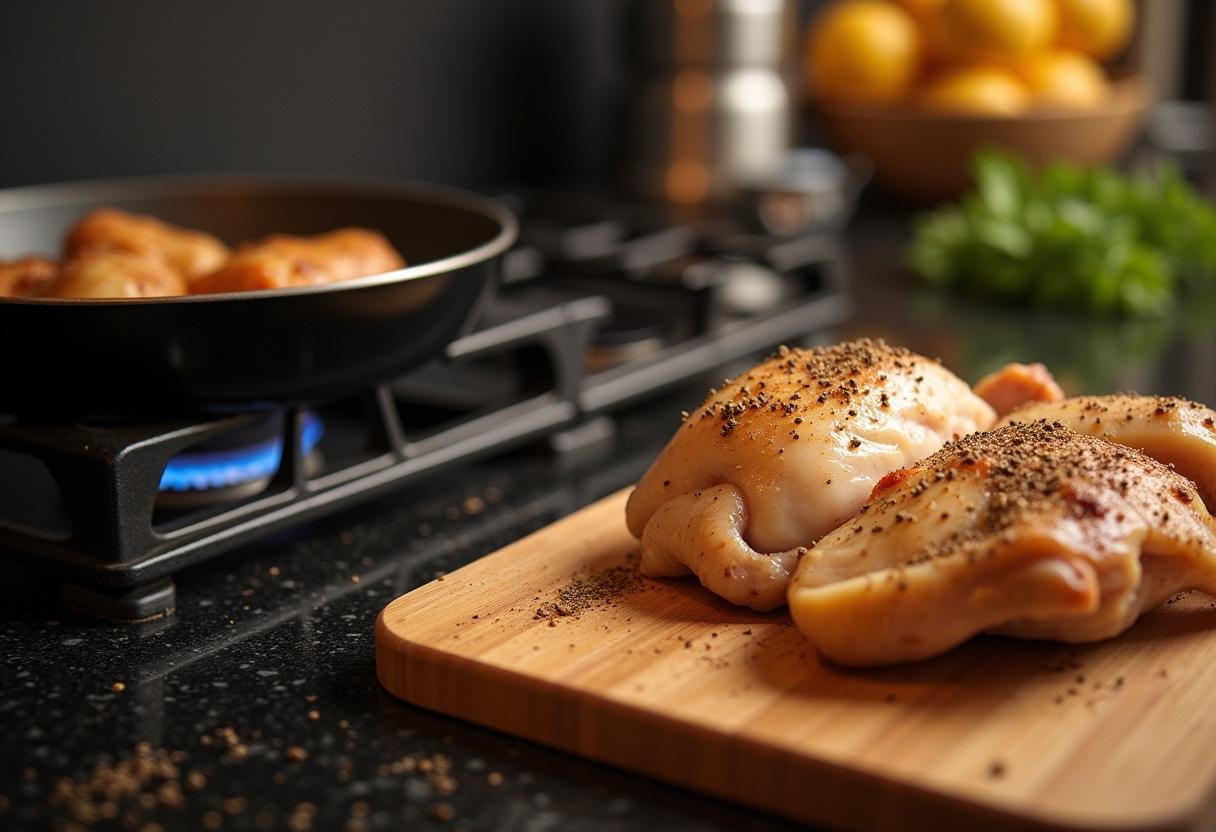
Step 3: Dry and Season the Chicken
Remove the chicken from its pickle juice bath and discard the brine (it’s done its job). Pat the chicken completely dry with paper towels – this step is crucial for achieving that perfect crispy skin. Let it sit at room temperature for about 30 minutes to ensure even cooking (this helps prevent that dreaded scenario where the outside is done but the inside is still cold). Rub the chicken all over with olive oil – this creates a beautiful golden crust. For extra flavor, season with additional black pepper or fresh dill. Some fans like to tuck lemon wedges or more garlic under the skin for an extra flavor dimension.
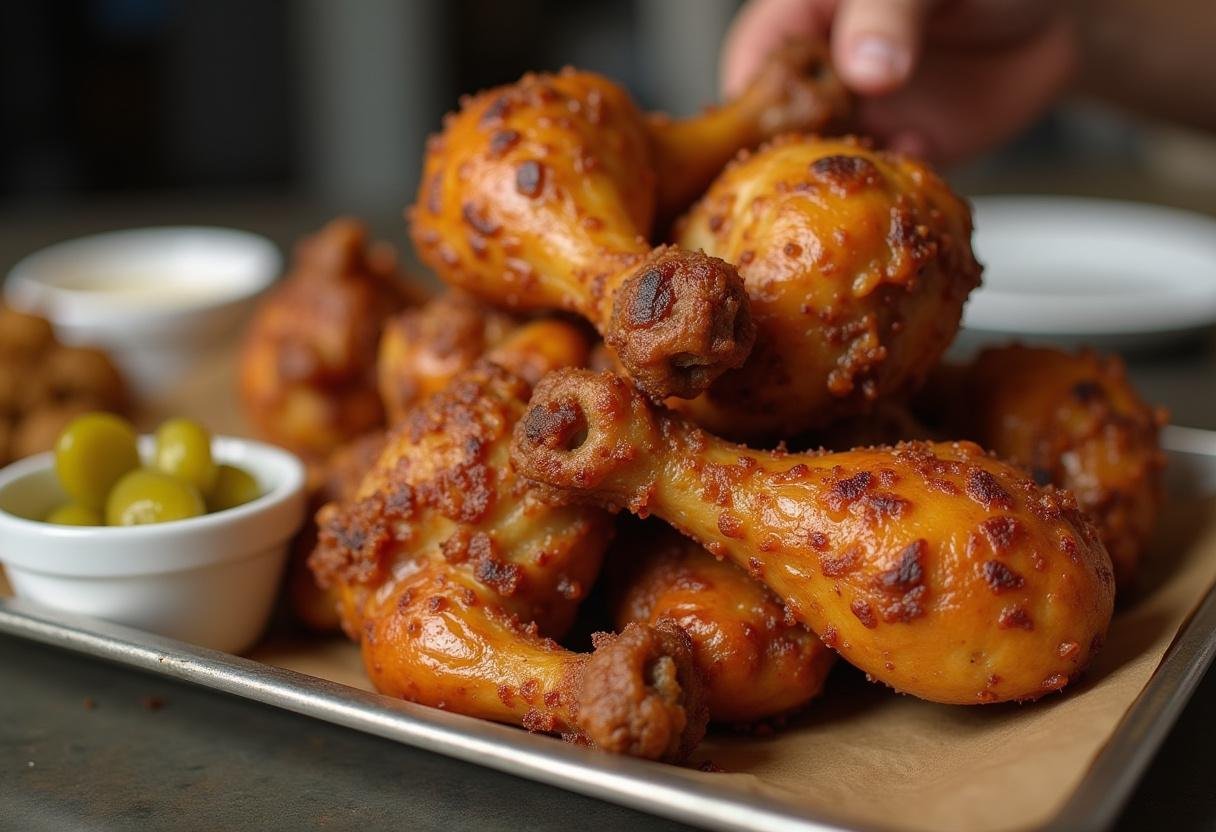
Step 4: Roast to Perfection
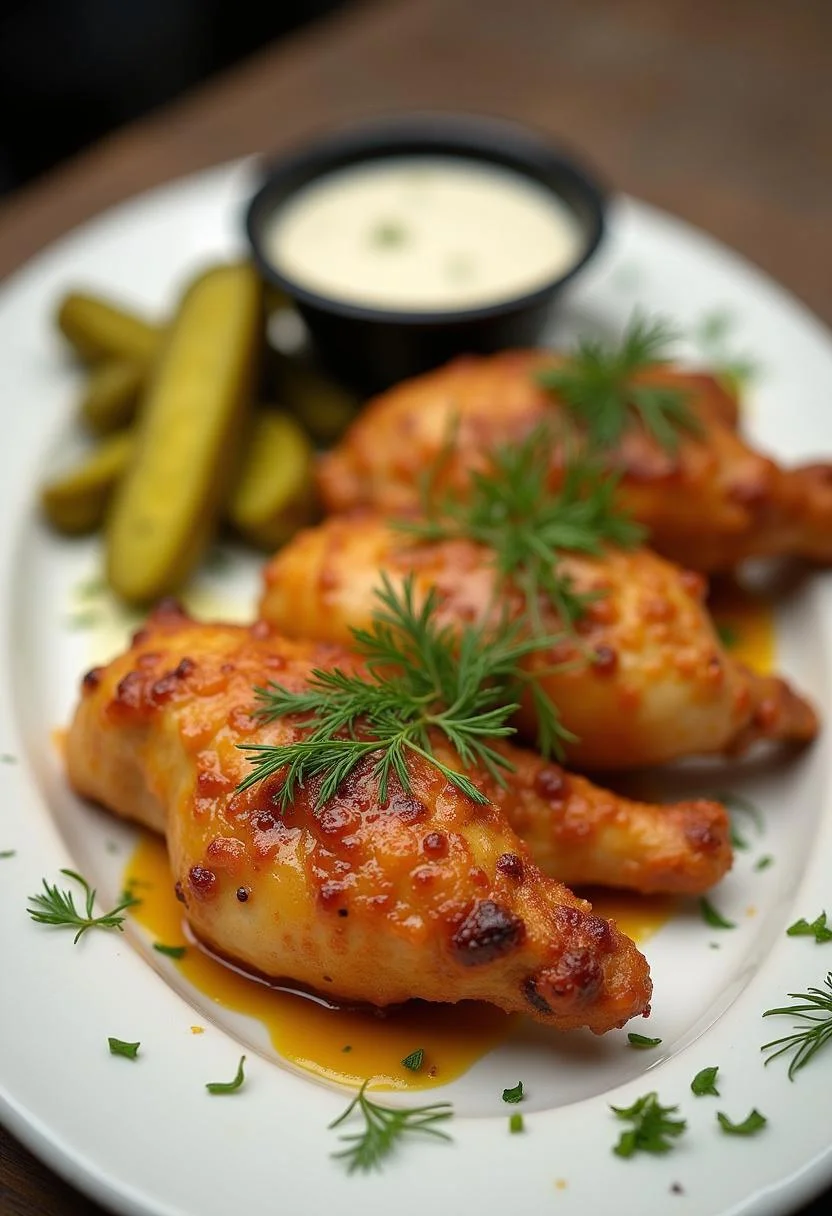
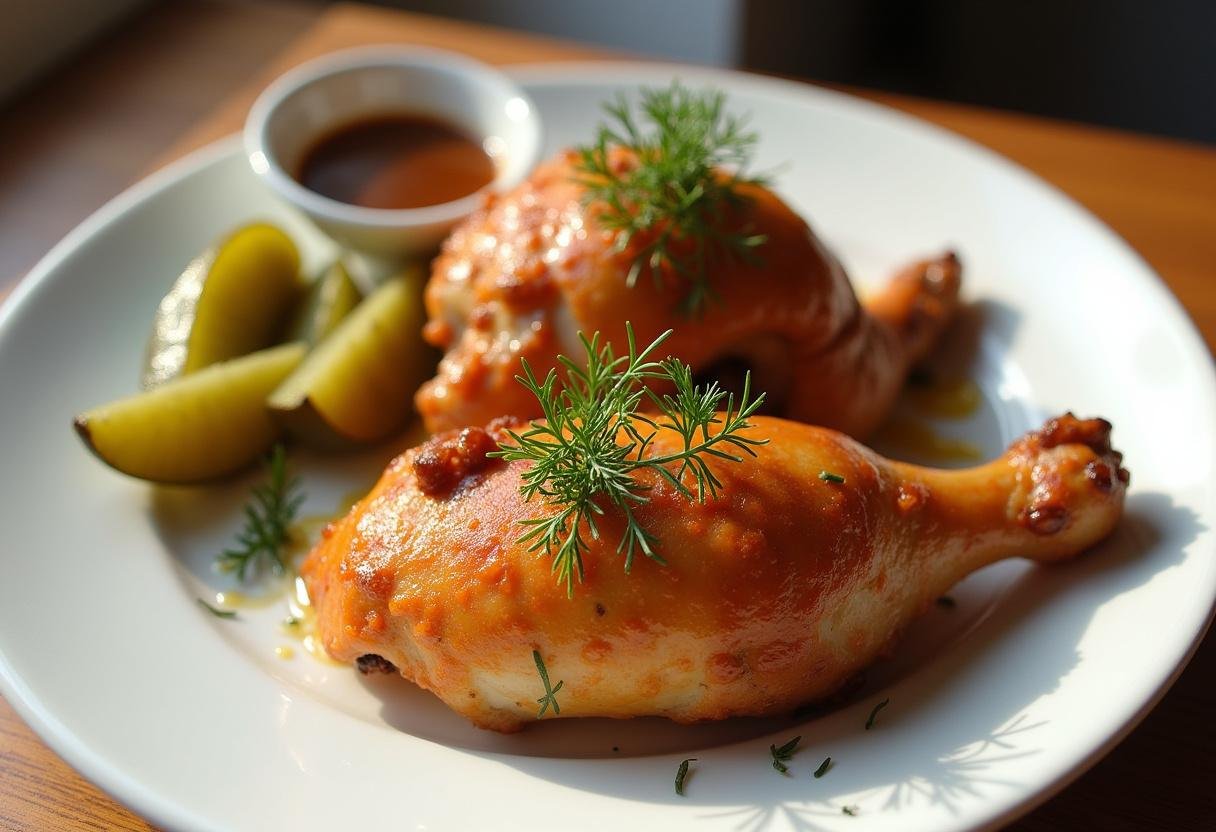
Preheat your oven to 375°F (190°C) – make sure it’s fully preheated before putting the chicken in. Place the chicken on a roasting rack in a baking dish (this allows air to circulate for even cooking). Roast for 1 to 1.5 hours, depending on the size of your chicken. Use a meat thermometer to check for doneness – you want the internal temperature at the thickest part of the thigh to reach 165°F (74°C). Every 20 minutes or so, baste the chicken with the pan juices – this keeps it moist and adds extra flavor. The result? A juicy, tangy, and crispy masterpiece that would make Rick Sanchez proud – golden brown skin with incredibly flavorful, moist meat beneath.
4. Serving Suggestions
Your Pickle Rick brined chicken deserves an equally impressive presentation. Serve it with roasted baby potatoes (tossed in some of the pickle juice for extra flavor), a fresh dill and cucumber salad, or even more pickles on the side for those who really want to lean into the theme. For true Rick and Morty fans, consider pairing it with a cold beer (Pabst Blue Ribbon, perhaps?) or a “Portal Gun” cocktail (vodka, blue curaçao, and lime). Check out more Hollywood-inspired recipes to complete your themed meal night!
5. Tips for the Best Pickle Rick Brined Chicken
- Use high-quality pickle juice – homemade or from your favorite brand. The flavor difference is noticeable.
- Don’t skip the drying step – crispy skin is key to this recipe’s success.
- Let the chicken rest for 10 minutes before carving – this allows juices to redistribute for maximum moistness.
- For extra crispy skin, you can pat the chicken dry again right before roasting.
- If you’re short on time, you can butterfly (spatchcock) the chicken to reduce roasting time.
6. Variations
Want to experiment like Rick in his garage lab? Try these dimension-twisting variations:
- Add mustard seeds or coriander to the brine for extra complexity
- Include a splash of hot sauce or chili oil for those who like it spicy
- Try different types of pickle juice (spicy pickles, bread & butter pickles)
- Add a tablespoon of honey to the brine for a touch of sweetness
- For a smoky version, add a teaspoon of smoked paprika to the brine
7. Storage and Reheating
Store any leftovers in an airtight container in the refrigerator for up to 3 days. The pickle brine actually helps preserve the chicken longer than usual. To reheat, use the oven at 350°F (175°C) for about 15-20 minutes – this helps maintain the crispiness better than microwaving. The chicken also makes amazing sandwiches or salads the next day – the pickle flavor mellows slightly but remains delicious.
8. Frequently Asked Questions
Q: Can I use boneless chicken for this recipe?
A: Yes, but reduce the brining time significantly to 4-6 hours to avoid over-salting. Boneless chicken absorbs the brine much faster.
Q: Can I grill instead of roast?
A: Absolutely! Grill over indirect heat at about 350°F for a smoky twist. Just watch for flare-ups from the dripping fat.
Q: My chicken is very salty – what went wrong?
A: You might have brined too long or used table salt instead of kosher salt. Next time, reduce brining time by a few hours.
Q: Can I reuse the brine?
A: Not recommended for food safety reasons. The brine has absorbed raw chicken juices during the brining process.
9. Conclusion
This Pickle Rick brined chicken recipe is more than just a meal – it’s a culinary adventure that pays delicious homage to one of the most iconic moments in “Rick and Morty” history. Whether you’re hosting a viewing party, looking for a conversation-starting main course, or simply love tangy, juicy chicken with an unforgettable flavor profile, this recipe delivers on all fronts. The combination of pickle tang, garlicky depth, and herbaceous dill creates a flavor explosion that’s truly “wubba lubba dub-dub” worthy. So grab your portal gun (or just your roasting pan), fire up the oven, and get ready for a chicken experience that transcends dimensions! 🚀🍗✨ And remember – in the words of Rick Sanchez himself, “The answer is: Don’t think about it.” Just enjoy every delicious bite!
Print
Rick and Morty Pickle Rick Brined Chicken
Rick and Morty Pickle Rick Brined Chicken: A Tangy, Juicy, and Wubba Lubba Dub-Dub Delight! This dish transforms ordinary chicken into an extraordinary, tangy, and juicy masterpiece with a pickle-infused brine inspired by the iconic ‘Rick and Morty’ episode. Perfect for fans of the show or anyone who loves bold flavors, this recipe guarantees a succulent, flavorful chicken with a crispy skin that’s out of this dimension.
- Total Time: 1 hour 45 minutes (plus brining time)
Ingredients
- 1 whole chicken (3-4 lbs)
- 4 cups pickle juice (from dill pickles)
- 2 cups water
- ¼ cup kosher salt
- 2 tbsp sugar
- 4 garlic cloves, smashed
- 1 tbsp black peppercorns
- 1 bunch fresh dill
- 1 tsp red pepper flakes (optional, for heat)
- 2 tbsp olive oil (for roasting)
Instructions
- Prepare the Pickle Rick Brine: In a large bowl or pot, combine the pickle juice, water, kosher salt, sugar, smashed garlic, black peppercorns, fresh dill, and red pepper flakes (if using). Stir until the salt and sugar dissolve completely.
- Brine the Chicken: Place the whole chicken in a large resealable bag or container and pour the brine over it, ensuring it’s fully submerged. Seal and refrigerate for at least 12 hours (or up to 24 hours for maximum flavor).
- Dry and Season the Chicken: Remove the chicken from the brine and pat it dry with paper towels. Let it sit at room temperature for 30 minutes. Rub the chicken with olive oil and season with extra black pepper or dill if desired.
- Roast to Perfection: Preheat the oven to 375°F (190°C). Place the chicken on a roasting rack in a baking dish and roast for 1 to 1.5 hours, or until the internal temperature reaches 165°F (74°C). Baste occasionally with pan juices for extra flavor.
Notes
- Use high-quality pickle juice—homemade or from your favorite brand.
- Don’t skip the drying step—crispy skin is key!
- Let the chicken rest for 10 minutes before carving for juicier meat.
- Store leftovers in an airtight container for up to 3 days. Reheat in the oven at 350°F (175°C) to maintain crispiness.
- Prep Time: 15 minutes
- Cook Time: 1 hour 30 minutes
Nutrition
- Serving Size: 1/4 chicken
- Calories: 320 Kcal
- Sugar: 2g
- Sodium: 1200mg
- Fat: 18g
- Saturated Fat: 5g
- Unsaturated Fat: 10g
- Trans Fat: 0g
- Carbohydrates: 3g
- Fiber: 0g
- Protein: 35g
- Cholesterol: 110mg

20 thoughts on “Rick and Morty Pickle Rick Brined Chicken”