

© Original Recipe By Hollywood Recipes ©
Snow White Jewel Mine Cookies: A Magical Feast of Cinematic Cookies 🍪💎✨
Kitchen tools and utensils used in this recipe
- Build Elsa’s Magical Ice Palace (LEGO Frozen Set) – Perfect for creating enchanting cookie decorations that bring your Fantasy sweet treats to life.
- Wear Your Story: Disney Princess “Living Locket” Set – Ideal for presenting your Snow White Jewel Mine Cookies as a stunning gift or centerpiece.
- Disney Snow White Apple Pendant Necklace Sterling Silver, Ruby & Diamond – Sparkling jewelry that complements your cinematic cookies theme beautifully.
1. Introduction
Discover the magic of creating your very own Snow White Jewel Mine Cookies, a delightful blend of fantasy-inspired sweetness and cinematic charm. These cookies are perfect for special occasions, movie nights, or as a whimsical gift for loved ones. Inspired by the enchanting worlds of fairy tales and classic movies, this recipe transforms ordinary cookies into sparkling treasures reminiscent of the legendary Snow White and her jeweled kingdom.
2. Ingredients for Snow White Jewel Mine Cookies
- 2 ½ cups all-purpose flour
- 1 cup unsalted butter, softened
- 1 cup confectioners’ sugar
- 1 large egg
- 1 teaspoon vanilla extract
- Food coloring: red, blue, yellow, green, and purple
- Jewels and edible glitter (sugar pearls, sprinkles, edible gems)
- Royal icing or colored icing for decoration
- Optional: edible gold leaf for an extra shine
3. Step-by-step Instructions to Make Snow White Jewel Mine Cookies
Preparation: Setting the Stage for Magic
Preheat your oven to 350°F (175°C). Line a baking sheet with parchment paper to prevent sticking. Gather all your ingredients and tools, ready to craft a fantasy sweet treat that captures the essence of cinematic cookies and fairy tale magic.
Mixing the Dough
In a large bowl, cream together the softened butter and confectioners’ sugar until light and fluffy. Add the egg and vanilla extract, mixing well. Gradually add the flour, mixing until the dough forms a smooth ball. Divide the dough into portions and tint with food coloring to match the jewel tones—red, blue, yellow, green, and purple. Knead each color to incorporate evenly.
Shaping the Cookies
Roll out the dough on a lightly floured surface to about ¼ inch thickness. Use cookie cutters in various jewel shapes—circles, ovals, and teardrops—to create mesmerizing pieces. For a more intricate design, use smaller cutters or knife to add details that mimic precious gemstones.
Baking the Cookies
Transfer the cutouts to your prepared baking sheet. Bake for 8-10 minutes or until edges are lightly golden. Allow cookies to cool completely on a wire rack before decorating. This step ensures that your cinematic cookies maintain their sparkling allure.
Decorating and Adding the Gems
Decorate the cookies with royal icing or colored icing, creating designs that mimic precious stones. Attach edible gems, sugar pearls, and edible glitter to give your cookies their jewel-like radiance. For an extra magical touch, add edible gold leaf to some cookies for shimmering effects fitting for a fairy tale princess.
4. Storage Tips for Snow White Jewel Mine Cookies
Store the decorated cookies in an airtight container at room temperature for up to 3 days. To maintain their sparkle and freshness, keep them away from humidity. For longer storage, refrigerate or freeze the cookies, ensuring they are well-wrapped to prevent damage to the delicate decorations.
5. Serving Suggestions for Cinematic Cookies and Fantasy Sweet Treats
Arrange the Snow White Jewel Mine Cookies on a beautiful platter or cake stand, complemented by fairy tale-themed decorations. Pair with a glass of sparkling cider or tea for a magical afternoon snack. These cookies also serve as charming party favors or centerpiece treats for movie-inspired themed parties, enchanting guests with their shimmering appearances.
6. Variations and Substitutions
For gluten-free options, substitute all-purpose flour with almond or gluten-free flour. Vegan-friendly versions can be made using plant-based butter and egg replacements. Adjust food coloring and decoration ingredients as needed to cater to dietary preferences while preserving the enchanting aesthetic.
7. Frequently Asked Questions (FAQ)
Can I make Snow White Jewel Mine Cookies ahead of time?
Yes, you can bake and decorate these cookies a couple of days in advance. Store them properly to prevent decorations from smudging or falling off.
Are there any dairy-free or vegan alternatives available?
Absolutely! Use dairy-free butter and plant-based egg replacers, and opt for vegan food coloring and edible decorations to keep the fantasy sweet treats inclusive for all dietary needs.
How long does it take to prepare these cinematic cookies?
The entire process, from preparing the dough to decorating, takes approximately 2-3 hours, making them perfect for special occasions or creative baking sessions.
What are some good pairing drinks with Snow White Jewel Mine Cookies?
Pair these cookies with sparkling apple cider, herbal teas, or a light champagne for an elegant, movie-inspired experience that elevates your enchanted feast.
8. Similar recipes for your enchanted baking adventures
- Naruto Ramen Bomb Croquettes
- Dumbo Elephant Ear Pastries
- Dragon Ball Z Shenron Green Tea Cheesecake
- One Punch Man Tornado Green Tea Cake
- Dragon Ball Z Fusion Fried Rice
9. Conclusion
Creating Snow White Jewel Mine Cookies is a magical journey into the world of cinematic cookies and fantasy sweet treats. With vibrant colors, sparkling decorations, and a touch of fairy tale charm, these cookies are sure to impress and delight both young and old. Whether you’re preparing for a movie night, special party, or just want to indulge in a whimsical baking adventure, these cookies offer a perfect blend of beauty and taste. Let your imagination run wild and bring your fantasy dreamscape to life with every sparkling bite!
Print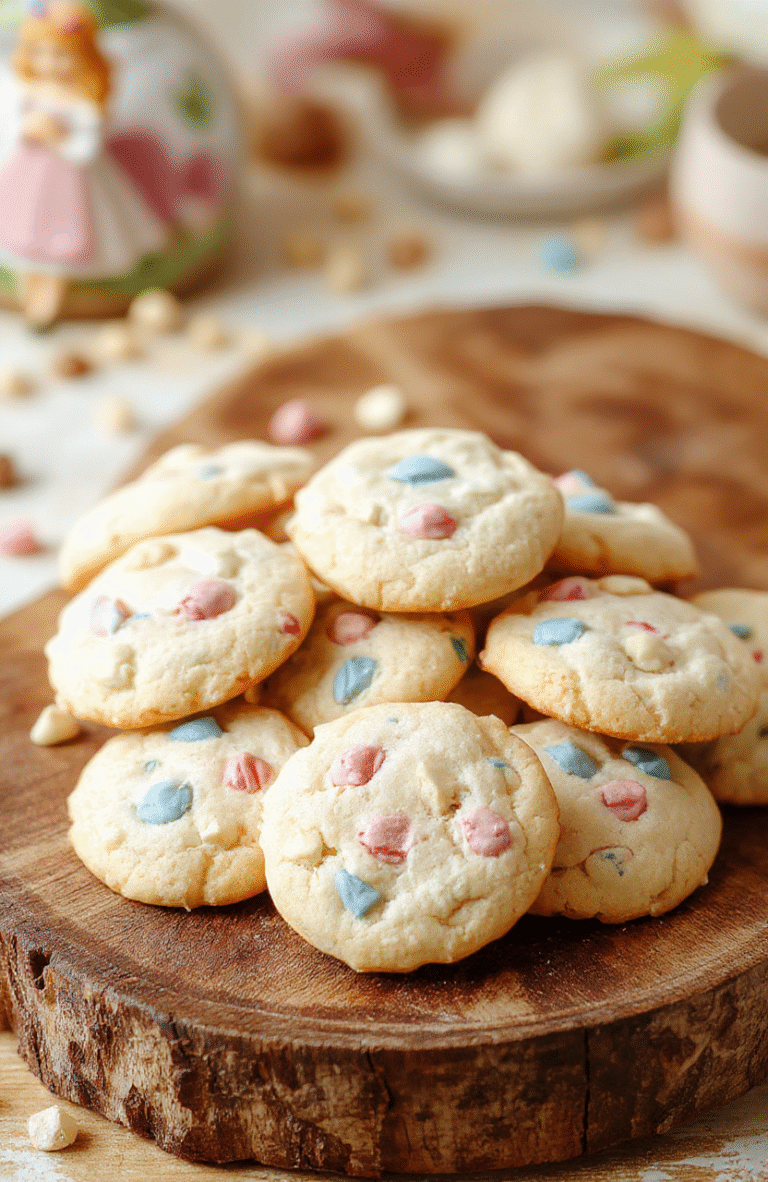
Snow White Jewel Mine Cookies
A fun and colorful batch of jewel-toned cookies inspired by Snow White’s story, perfect for movie nights or fairy tale parties.
- Total Time: 32 minutes
- Yield: 24 cookies
Ingredients
- 2 1/4 cups all-purpose flour
- 1/2 teaspoon baking powder
- 1/4 teaspoon salt
- 3/4 cup unsalted butter, softened
- 1 cup granulated sugar
- 1 large egg
- 2 teaspoons vanilla extract
- Food coloring (red, blue, yellow, green)
- Edible glitter and sprinkles
Instructions
- Preheat oven to 350°F (175°C). Line baking sheets with parchment paper.
- In a bowl, whisk together flour, baking powder, and salt.
- In a separate large bowl, beat butter and sugar until creamy.
- Add egg and vanilla extract; beat until combined.
- Gradually add dry ingredients and mix until dough forms.
- Divide dough into sections and tint each with different food colorings.
- Shape dough into small gems and place on prepared baking sheets.
- Bake for 10-12 minutes; cool completely.
- Decorate with edible glitter and sprinkles to resemble jewels.
Notes
- Use high-quality food coloring for vibrant hues.
- Chill dough if too sticky to handle.
- Decorate with icing for more detailed designs.
- Prep Time: 20 minutes
- Cook Time: 12 minutes
- Method: Baking
- Cuisine: Fairy Tale-inspired
- Diet: Vegetarian
Nutrition
- Serving Size: 1 cookie
- Calories: 120 Kcal
- Sugar: 8g
- Sodium: 35mg
- Fat: 6g
- Saturated Fat: 4g
- Unsaturated Fat: 2g
- Trans Fat: 0g
- Carbohydrates: 15g
- Fiber: 1g
- Protein: 2g
- Cholesterol: 15mg
