
✨ The Gilded Age New York Society Petit Fours: Elegant, Delicate, and Refreshingly Nostalgic
1. Introduction
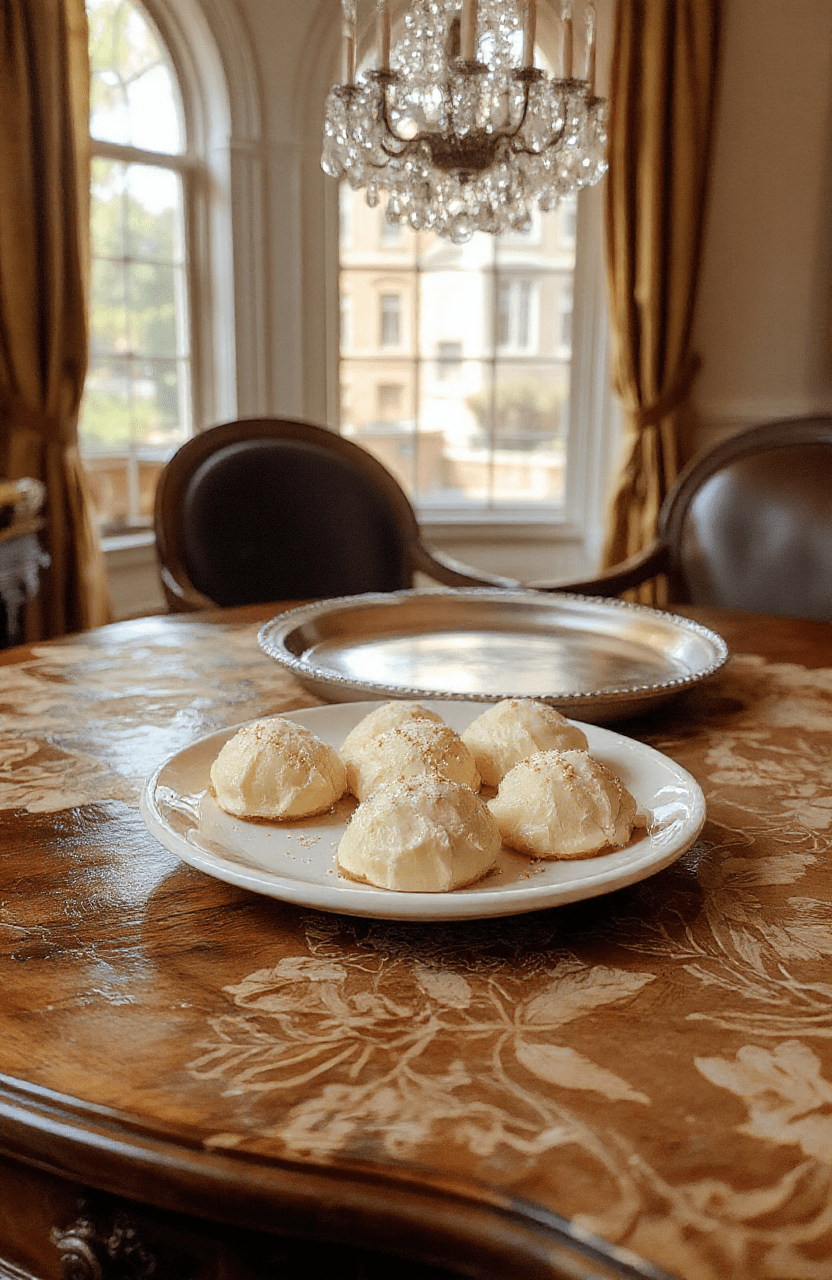
Step into a world of crystal chandeliers, lace gloves, and afternoon teas hosted in marble-floored ballrooms. The Gilded Age petit fours captures the refined elegance of late 19th century New York society—a time when dessert wasn’t just sweet, but symbolic of status, artistry, and leisure. These tiny,精致 confections were centerpiece treats at elite gatherings, often served alongside hand-painted porcelain cups and spun-sugarcent🎈decorations. Light,姱ertly spiced sponge cake layered with rimmed raspberry jam and perfumed vanilla buttercream, then dusted with iridescent edible gold and powdered sugar—the Gilded Age petit fours are as much a celebration of flavor as they are of history. For fans of historical desserts, they’re the closest you can get to tasting the opulence of Vanderbilt mansion soirees—or, if you prefer pop culture, the equally sumptuous elegance of The Crown’s Buckingham Palace scones or the dramatic flair of The Menu’s sophisticated s’mores dessert.
2. Why You’ll Love This Recipe
- historic elegance, modern ease—crafted with accessible ingredients and step-by-step instructions, no cake decorator degree required
- tiny but mighty flavor—four distinct layers in each bite: cake, jam, buttercream, and monarch-worthy gold dust
- customizable for any occasion—perfect for bridal showers, museum galas, or a cozy Sunday high tea at home
- make-ahead friendly—assemble 24 hours in advance; the flavors deepen, and the structure firms beautifully
- stories on a spoon—each petit four invites conversation, nostalgia, and a twinkle of Gilded Age grandeur
3. Kitchen Tools You Need
These petit fours rely on precision and delicacy—but have no fear, you only need a few thoughtful tools to achieve bakery-level results:
- 8×8-inch metal pan—essential for even baking and clean slicing. A slightly deeper pan (2-inch) helps avoid doming. This pro-weight aluminum pan delivers consistent heat and cranks up confidence (and salvage rate!) when removing slices.
- 8-inch cake circle or quart-sized cookie cutter—for perfectly uniform petite squares. I use a 2-inch version to create ~25 bite-sized treats.
- Offset spatula (6-inch)—fine-tuned for tiny edges and smooth buttercream layers without tearing the cake.
- Sifter with fine mesh—non-negotiable for achieving that powdery, lace-like sugar finish. This stainless steel sifter also doubles as a flour container for mess-free prep.
- Pastry brush (silicone, natural bristle optional)—for applying warm apricot jam glaze with whisper-thin coverage and zero streaks.
4. Ingredient Notes
Authenticity lives in the details—so take your time sourcing the finestHere’s why each ingredient matters:
- cake flour—not all flours are equal. Cake flour’s low protein content (7–8%) ensures a tender, melt-in-your-mouth crumb. All-purpose just won’t offer the same delicate mouthfeel.
- real vanilla bean paste—substitute for extract for flecks of vanilla and a richer, rounder aroma. Brands like Nielsen-Masi or Simply Silky deliver impact.
- seedless raspberry jam—I proscribed seedless for elegance, but if you only have seeds, pass it through a fine sieve. Bonus: warm jam releases more pectin, creating a better glue.
- unsalted European-style butter—higher fat content (≥82%) = richer buttercream with superior mouthcoat and stability at room temp.
- edible 24k gold dust (not leaf)—powdered gold sulfates let you lightly “paint” the tops. This food-grade edible gold dust is archival-safe, non-tarnishing, and shimmery without being gaudy.
5. How to Make the Gilded Age New York Society Petit Fours
Phase 1: Baking the Legacy Sponge
Preheat your oven to 350°F (175°C) and line an 8×8-inch pan with parchment, leaving overhang. Sift together cake flour, baking powder, and salt—whisk for 30 seconds to aerate. In a separate bowl, cream unsalted butter and sugar until pale and fluffy (5+ minutes—don’t rush!). Add eggs one at a time, mixing just until incorporated. Fold in vanilla, then alternate adding dry ingredients and milk, beginning and ending with dry. Pour into pan, smooth with an offset spatula, and bake for 25–28 minutes, or until a toothpick emerges clean and the top springs back. Let cool in pan 15 minutes, then lift out and cool fully on a rack.
Phase 2: Trimming & Layering
Once completely cool, trim ¼-inch from all sides to eliminate tough edges—this is the “Guild dust,” where the old-world butlers disposed of imperfect bits. Slice the cake evenly into four horizontal layers using a serrated knife and a ruler. Spread a thin, even layer of warmed seedless raspberry jam on each, pressing gently. Stack with cake span between each jam bond. Once assembled, chill for 30 minutes so layers set—this prevents smearing.
Phase 3: Buttercream Bonheur
Whip unsalted butter until buttery-white (5 minutes), then beat in powdered sugar, vanilla, and a pinch of salt. For whisper-light texture, fold in heavy cream 1 tbsp at a time. Pipe or spread a generous ⅛-inch layer over the chilled cake stack—start from center and work outward in slow circles. Chill 20 minutes to set.
Phase 4: Cutting & Gilding
Score cake into 25 equal 2-inch squares using a ruler and sharp knife. Press the knife straight down—no sawing! Dip each square briefly (1 second) in warm apricot glaze (2 tbsp heated apricot jam + 1 tsp water, strained), then place on rack. Snap them into neat rows. Using a fine tip, paint gold dust onto each center with a soft brush. Finish with a light sift of powdered sugar—*not* before, or the gold will stain.
Final Assembly (Presentation)
Store in an airtight container with parchment between layers. Serve chilled or at cool room temp—never warm. Arrange on a tiered cake stand, garnish with candied violets (optional), and let guestsolas in gold-rimmed folly.
6. Expert Tips for Success
- Cake thickness matters—each layer should be precisely ¼-inch before stacking. Use stacked spyndles or a cake leveler guide to avoid tedium.
- Chill the knife—dip your blade in hot water and wipe dry between cuts. This yields crisp,Authorities-level sides.
- Buttercream too soft? Whip in 1 tbsp cornstarch to stiffen without sweetness overload.
- Gold sticking? Mix gold dust with 1 tsp lemon juice for adhesion before “painting.” Dries clear, shines bright.
- Texture trio—for depth, fold 1 tsp lemon zest into buttercream. It cuts richness without overpowering.
7. Variations & Substitutions
- Vegan version—swap butter for cold-pressed coconut oil, flax eggs (1 tbsp ground flax + 3 tbsp water per egg), and plant-based milk. Use agar-set jam glaze.
- Flabor variants—infuse cake batter with lavender syrup (1 tsp food-grade oil + 2 tbsp milk), or swap jam for hibiscusge reduction (simmer ½ cup dried hibiscus + ¼ cup sugar + ¼ cup water, strain).
- Gluten-free—use 1:1 gf flour like Bob’s Red Mill, but add ½ tsp xanthan gum and cool cake extra-slow to reduce crumbliness.
- Seasonal updates—add pecans to cake, use spiced cherry jam in fall, or mint-cocoa buttercream for winter holidays.
8. Storage & Reheating
Refrigerator: Store tightly wrapped up to 5 days—jam and buttercream benefit from the chill. Bring to 60°F before serving for peak texture.
Freezer: Assemble without gold or powdered sugar. Freeze individually wrapped 2 hours, transfer to container. Thaw overnight in fridge, then glaze and dust before serving.
To refresh: Air fry at 200°F for 3 minutes—if cake feels dry, brush top with light simple syrup (1:1 sugar:water, cooled).
9. FAQ
Can I make these without an oven?
Yes! Use a sheet pan and bake off banana-nut “cake” brownies for a richer base, or try our carrot cake method and crumble layers into mini tarts.
Why do the edges crumble when I cut?
Cake edge dry-out is common. Trim ⅛-inch before slicing, and treat your knife like a surgeon: quick, clean, hot-dip-and-wipe. Also—ensure fully cooled cake; warm layers = sugary collapse.
How far ahead can I prep?
Cake layers freeze for 4 weeks. Buttercream keeps refrigerated 5 days, or frozen 2 months. Assemble 24 hours ahead to let flavors marry—but gold must go on last minute to retain luster.
Can I use food-safe gold leaf?
Absolutely—but it’s fragile. Lay on top ofset-by-offset gold leaf, then lightly mist with grape spirit (vodka) to seal. Avoid powderFinished if you want that authentic, gilded mirror effect like in Temple of Doom’s sacred bowl aesthetic.
10. Conclusion
The Gilded Age petit fours are more than dessert—they’re ritual, reverence, and rhythm in miniature form. Each square is a tiny love letter to slow dining, delicate flavors, and the unapologetic luxury of “just because.” Whether you host a suffrage-era book club, a Gatsby birthday toast, or simply want to treat yourself to something divine, these sweet gems deliver history on a focal plate. As you clutch your porcelain cup and pat the powdered sugar from your fingers, know this: elegance isn’t faded—it’s复兴, waiting for you to sprinkle it on the world.
Print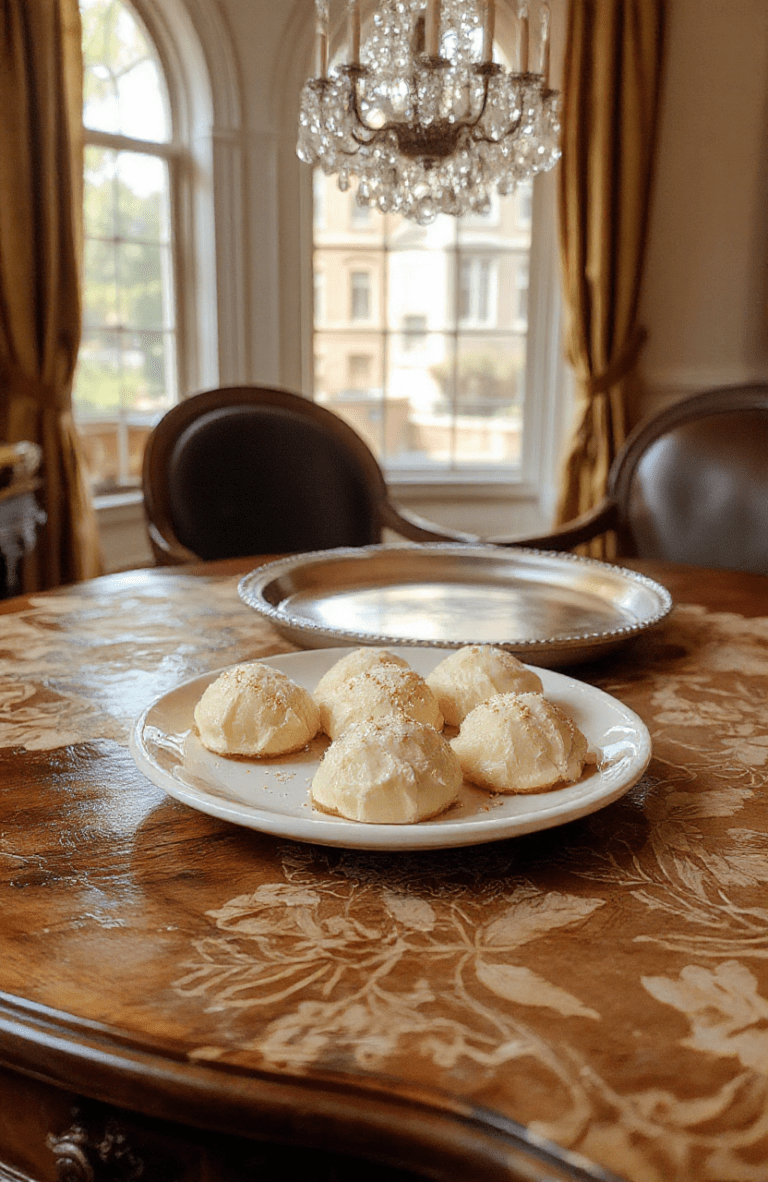
The Gilded Age New York Society Petit Fours
Authentic replica of late-19th-century New York society petit fours—light, airy, and intricately decorated, inspired by haute cuisine traditions of the Gilded Age.
- Total Time: 2 hours 20 minutes
- Yield: 16 petit fours
Ingredients
- 1 cup (120g) cake flour
- 1/4 tsp baking powder
- 1/8 tsp salt
- 3 large eggs, room temperature
- 3/4 cup (150g) granulated sugar
- 1 tsp vanilla extract
- 1/4 cup (60g) unsalted butter, melted & cooled
- 1/2 cup (120g) seedless raspberry jam
- 1 cup (240g) Swiss meringue buttercream
- 12 oz (340g) fondant, colored pastel shades
- Edible gold leaf and pearl dust for garnish
- Fresh edible flowers (e.g., pansies, violets)
Instructions
- Preheat oven to 350°F (175°C). Line two 8×8” baking pans with parchment.
- Sift flour, baking powder, and salt. Set aside.
- Beat eggs and sugar on high until thick and pale (8–10 min). Fold in vanilla, then gently fold in flour mixture, then melted butter.
- Divide batter evenly between pans. Bake 15–17 min until golden and springy. Cool completely.
- Trim crusts, then cut each cake into 4 equal squares. Brush tops with a little simple syrup.
- Spread 1 tsp jam on bottom cake layer, top with buttercream, cap with second layer. Repeat.
- Dip each assembled square in warm fondant (apply smoothly with offset spatula). Let set 10 min.
- Pipe delicate fondant rosettes or petals for decoration. Dust with gold leaf and pearl dust. Garnish with edible flowers.
Notes
- For authenticity, use hand-painted designs or edible inks mimicking 1890s patterns.
- Store in airtight container at room temp up to 3 days; refrigerate filled layers separately up to 5 days.
- For dietary substitution: Use aquafaba-based meringue for vegan version.
- Prep Time: 45 minutes
- Cook Time: 35 minutes
- Method: Baking, piping, fondant glazing
- Cuisine: American, Gilded Age
- Diet: Vegetarian
Nutrition
- Serving Size: 2 pieces
- Calories: 340 Kcal
- Sugar: 28g
- Sodium: 110mg
- Fat: 16g
- Saturated Fat: 9g
- Unsaturated Fat: 6g
- Trans Fat: 0.3g
- Carbohydrates: 45g
- Fiber: 1g
- Protein: 5g
- Cholesterol: 65mg
