
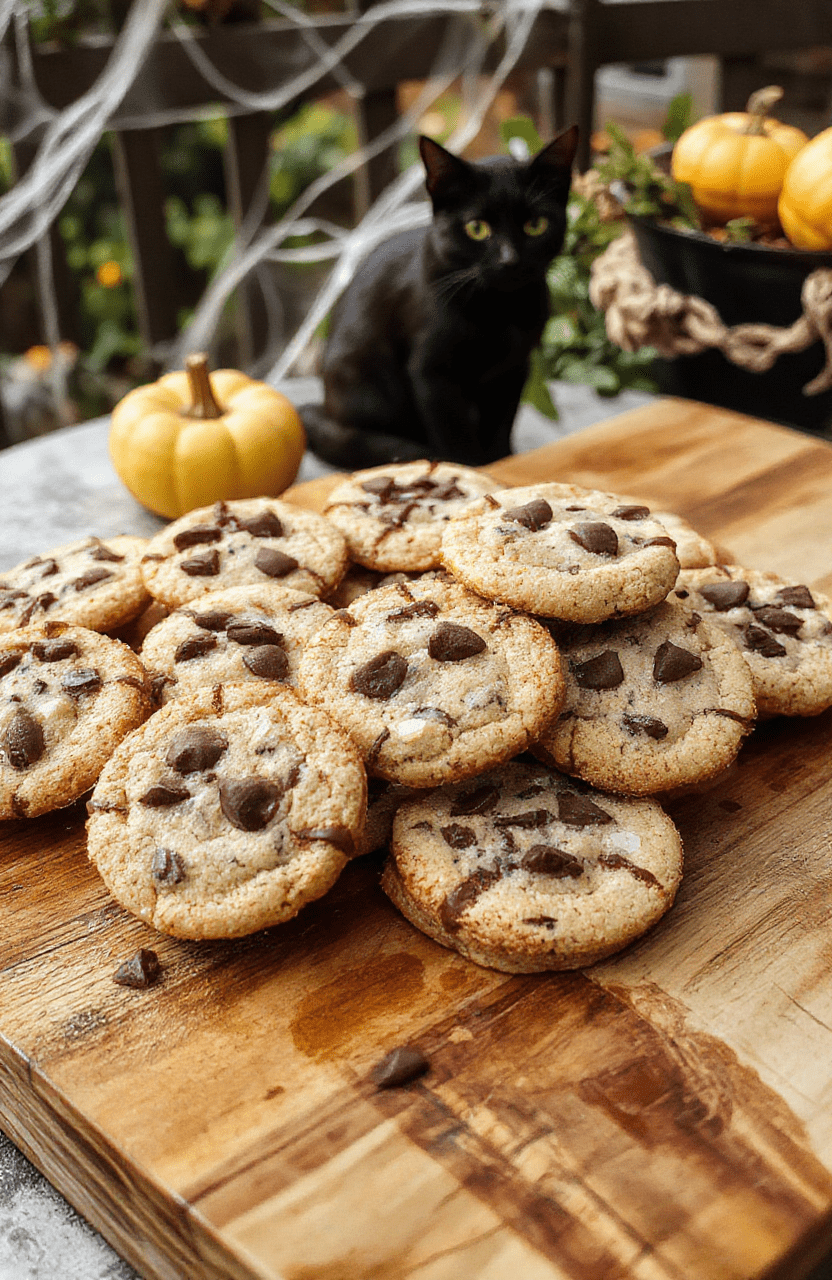
🎃 Jack Skellington Cookies with Spooky Chocolate-Dipped Smiles! 🎃
1. Introduction
Get ready to step into the whimsical, haunt-filled world of Jack Skellington cookies —a showstopping dessert inspired by The Nightmare Before Christmas that brings Jack’s iconic angular face, stitched grin, and hauntingly sweet charm to your Halloween spread. These hand-painted cookies aren’t just treats—they’re edible art, perfect for parties, themed gatherings, or gifting to fellow Skeleton King fans. With crisp piping details, rich chocolate-dipped “bones,” and a subtle ginger-clove spice that whispers of autumn nights, these Nightmare Before Christmas cookies blend nostalgia, creativity, and serious flavor.
2. Why You’ll Love This Recipe
- Edible Character Crafting: Ideal for fans of Tim Burton’s cult classic—no cake decorating degree required!
- Ready in Under 2 Hours: From mixing to decorating, most of the time is hands-off chilling or baking.
- Crisp, Toothsome Texture: Gingerbread base with the perfect snap—sturdy enough for piping, flavorful enough to savor.
- Customizable & Kid-Friendly: Let little ghouls and goblins help pipe frosting “stitches” or dip bone halves.
- One-Batch Wonder: No fancy tools—just a few piping bags, royal icing, and creativity.
3. Kitchen Tools You Need
Crafting these Jack Skellington cookies becomes effortless (and more fun!) with the right tools on hand. I’ve tested this recipe with the gear below—each plays a crucial role in ensuring crisp edges, clean detailing, and glossy, professional-looking finishes:
- Wilton Perfect Dispenser Piping Bags —These reusable, leak-proof bags hold royal icing steadily without squeezing out uneven lines—ideal for Jack’s signature stitched mouth.
- Ateco Stainless Steel Piping Tip Set —Use #1 or #2 tips for fine outline work and #3 for filling larger areas (like his cheek hollows).
- Silicone Mat for Rolling Cookies —Prevents sticking and ensures uniform thickness, so every Jack bakes evenly.
- Non-Stick Cookie Cutters by Nordic Ware —They make it easy to cut out Jack’s distinct face shape (just sketch a simple outline or trace a printable template first!).
4. Ingredient Notes
Great gingerbread means attention to spice and texture. Here’s how each ingredient makes a difference:
- Black Treacle (or Rich Molasses): Don’t skip this. Light molasses gives sweetness, but dark or black treacle adds that deep, almost burnt caramel bitterness—key to Jack’s moody gingerbread palette.
- Ground Ginger + Fresh Grated Ginger: Powdered ginger gives warm backbone; fresh adds bright, zesty lift. Together they create layered spice.
- Clotted Cream or Heavy Cream (for glaze): Adds richness and helps royal icing set glossy. (Note: If you’re vegan, sub with oat milk + 1 tsp lemon juice + 1 tbsp powdered sugar.)
- High-Quality Confectioners’ Sugar: Sift it twice! Lumps cause clogged piping tips—no one wants an uneven stitched smile.
- High-Cocoa Dark Chocolate (70%+) for “Dipped Bones”: Use a fair-trade brand like Endangered Species or Green & Black’s for depth and sheen—mimics Jack’s bony fingers to perfection.
5. How to Make Jack Skellington Cookies
Follow this step-by-step process to bring Jack to life. Think of it as a mini-art project with delicious outcomes!
Phase 1: Gingerbread Dough & Shaping
Whisk together flour, ginger, cinnamon, cloves, baking soda, and salt. In a separate bowl, beat brown sugar with butter until creamy, then mix in molasses and egg. Combine wet and dry— Form two discs, wrap in parchment, and chill for 1–2 hours (don’t rush this—the dough firms up to prevent spreading).
Roll chilled dough to ¼-inch thickness between two sheets of parchment. Use a Jack Skellington face template (you can find a printable PDF in my Halloween Cookie Pack) to cut out shapes. For beginners, pipe a small outline first, then cut within it—it’s easier than trying to cut freehand!
Visual cue: The dough should feel cool and resilient—not sticky. If it sticks, chill again 15 minutes.
Phase 2: Baking & Cooling
Bake at 350°F (175°C) for 8–10 minutes. You’ll know they’re done when the edges look set and the center is just firm to the touch—don’t overbake, or they’ll crack during decorating.
Cool on the pan for 5 minutes, then transfer to a wire rack. Must be completely cool before piping royal icing—warm cookies = melted, blobby smiles.
Phase 3: Royal Icing & Piping Details
Make two consistencies of royal icing:
- Outline consistency (thick): Pipe Jack’s external shape and the stitched mouth. Let dry 10 minutes.
- Flooding consistency (thin): Fill in his face, hollows under eyes, and cheekbones. Use a toothpick to guide icing into recesses.
With a #1 tip, pipe white royal icing around the edges of his head, then pipe vertical “stitches” in an X pattern across the mouth. For his eyes, pipe two round ovals and let dry before adding tiny black dots with edible marker.
Pro tip: Keep a spray bottle of water nearby to rinse piping tips between colors—ghost-white face before the pumpkin spice!
Phase 4: Chocolate “Bones” & Finishing Touches
Melt chocolate in a double boiler. Pipe thin lines onto parchment, twist into bone shapes, and chill until firm. Break or cut into “Bone halves” and dip one end in chocolate so they stick to the cookie surface—Jack’s classic handshake pose!
optional: Brush centers of eyes with edible pearl dust for a subtle, skeletal glow.
6. Expert Tips for Success
- Chill dough overnight for cleaner cuts and deeper spice infusion.
- Use a hair dryer on low to speed-dry flooding icing (30 seconds only!)—prevents cracking and bleeding.
- Cold gingerbread + room-temp royal icing = no warping.
- Keep piping tips clean—a damp paper towel wrapped around the bag helps contain spills and keeps tips warm.
- For a deeper Jack look, brush edges lightly with brown food coloring dissolved in vodka (edible sealant + pigment).
7. Variations & Substitutions
- Gluten-Free: Swap All-Purpose for 1:1 GF flour blend (I recommend King Arthur Measure for Measure).
- Gluten-Free: Swap All-Purpose for 1:1 GF flour blend (I recommend King Arthur Measure for Measure).
- Vegan: Use flax eggs (1 tbsp ground flax + 3 tbsp water per egg), coconut oil instead of butter, and dairy-free chocolate for bones.
- No-Bake Version: Press mixture into lined pan, chill, and slice into Jack shapes. Top with white chocolate drizzle instead of royal icing.
- Boo-to-You Skellington: Add a splash of orange food gel and dust with edible glitter for a “moonlit Halloween” sparkle.
8. Storage & Reheating
Store in airtight containers with parchment between layers for up to 1 week at room temp—or freeze up to 2 months (thaw overnight in fridge).
Reheat is not recommended—these are best enjoyed cool or at room temp to preserve crispness and detail.
Crisping revivers: If they soften, place in oven at 200°F for 5–7 minutes and cool completely before serving.
9. FAQ
Q:Can I use sugar cookie dough instead?
A: Yes—but sugar cookies won’t hold Jack’s sharp features as well. Add ½ tsp almond extract and 1 tsp orange zest to sugar cookie dough for an autumn twist.
Q:Why did my royal icing crack?
A: Likelydue to over-thinning or a dry room. Add ½ tsp glycerin per cup of icing to increase flexibility, or cover with a damp towel while piping.
Q:What if I don’t have a Jack-shaped cutter?
A: Print a template from Pinterest or trace Jack’s silhouette from a photo—trace onto parchment, tape it under your rolling pin, and cut directly over it.
Q:Are these safe for kids with allergies?
A: You can easily make them nut-free, dairy-free, and egg-free (see vegan variation). Always check labels on chocolate and food coloring.
10. Conclusion
These Jack Skellington cookies are more than Halloween candy—they’re a love letter to storytelling through flavor. With their crisp gingerbread, rich chocolate-bone accents, and hand-piped quirks, they bring the spirit of Halloween Town to your table in the most delicious way possible. Whether you’re hosting a spooky soiree or gifting to your favorite pumpkin-wannabe, these cookies will steal hearts (and maybe a few skeletons, too).
Want more movie magic? Try my Twilight Bella’s Mushroom Ravioli for a dark elegance, or the Turning Red Panda Ginger Cookies for a sweet, cuddly twist. For more festive baking, explore our Hobbit’s Honey Cakes or the Barbie Dreamhouse Pink Pasta Sauce for a pop of whimsy.
Now go forth—and may your Halloween be scary good.
Print
The Nightmare Before Christmas Jack Skellington Cookies
These Jack Skellington cookies are a festive, easy-to-make treat inspired by Tim Burton’s The Nightmare Before Christmas—shaped like Jack’s skeletal silhouette with smooth black icing highlights and a touch of edible glitter, ideal for Halloween parties or movie night snacking.
- Total Time: 2 hours 10 minutes
- Yield: 24 cookies
Ingredients
- 2 1/2 cups all-purpose flour
- 1 tsp baking powder
- 1/4 tsp salt
- 3/4 cup (170g) unsalted butter, softened
- 3/4 cup (150g) granulated sugar
- 1 large egg
- 1 tsp vanilla extract
- 1/4 tsp almond extract (optional)
- Black and white royal icing (store-bought or homemade)
- Silver edible glitter or dust, for decoration
Instructions
- In a medium bowl, whisk together flour, baking powder, and salt; set aside.
- In a large bowl, beat butter and sugar until light and fluffy. Add egg, vanilla, and almond extract; mix until combined.
- Gradually blend in the dry ingredients until a soft dough forms. Divide dough in half, flatten into discs, wrap in plastic, and chill for at least 1 hour.
- Preheat oven to 350°F (175°C). Line baking sheets with parchment paper.
- Roll dough to 1/4-inch thickness on a floured surface. Use a Jack Skellington cookie cutter (or freehand a skeletal silhouette with arms raised) to cut shapes. Transfer to baking sheets, 1 inch apart.
- Bake for 8–10 minutes, or until edges are just golden. Cool on pans for 5 minutes, then transfer to wire racks to cool completely.
- Once fully cooled, pipe black royal icing outlines and flood centers. Let dry 1–2 hours.
- Add fine white icing details for Jack’s signature wide smile, fingers, and mustache. Lightly dust with silver edible glitter.
Notes
- For crisp edges, re-roll scraps only once; dough can become tough with overwork.
- Prepare royal icing 1–2 days ahead to reduce drying time; keep covered with damp cloth while piping.
- To save time, use store-bought sugar cookie dough, but chill for 15 minutes before cutting for best shape retention.
- For a firmer base, add 1 tbsp cornstarch to the dry ingredients.
- Prep Time: 30 minutes
- Cook Time: 10 minutes
- Method: Baking
- Cuisine: American
- Diet: Vegetarian
Nutrition
- Serving Size: 1 cookie
- Calories: 110 Kcal
- Sugar: 12g
- Sodium: 75mg
- Fat: 5g
- Saturated Fat: 3g
- Unsaturated Fat: 2g
- Trans Fat: 0g
- Carbohydrates: 14g
- Fiber: 0.5g
- Protein: 2g
- Cholesterol: 25mg
