
🍯 Winnie the Pooh Hundred Acre Wood Honey Pots — Whimsical, Chewy, & Pure Nostalgia!
1. Introduction
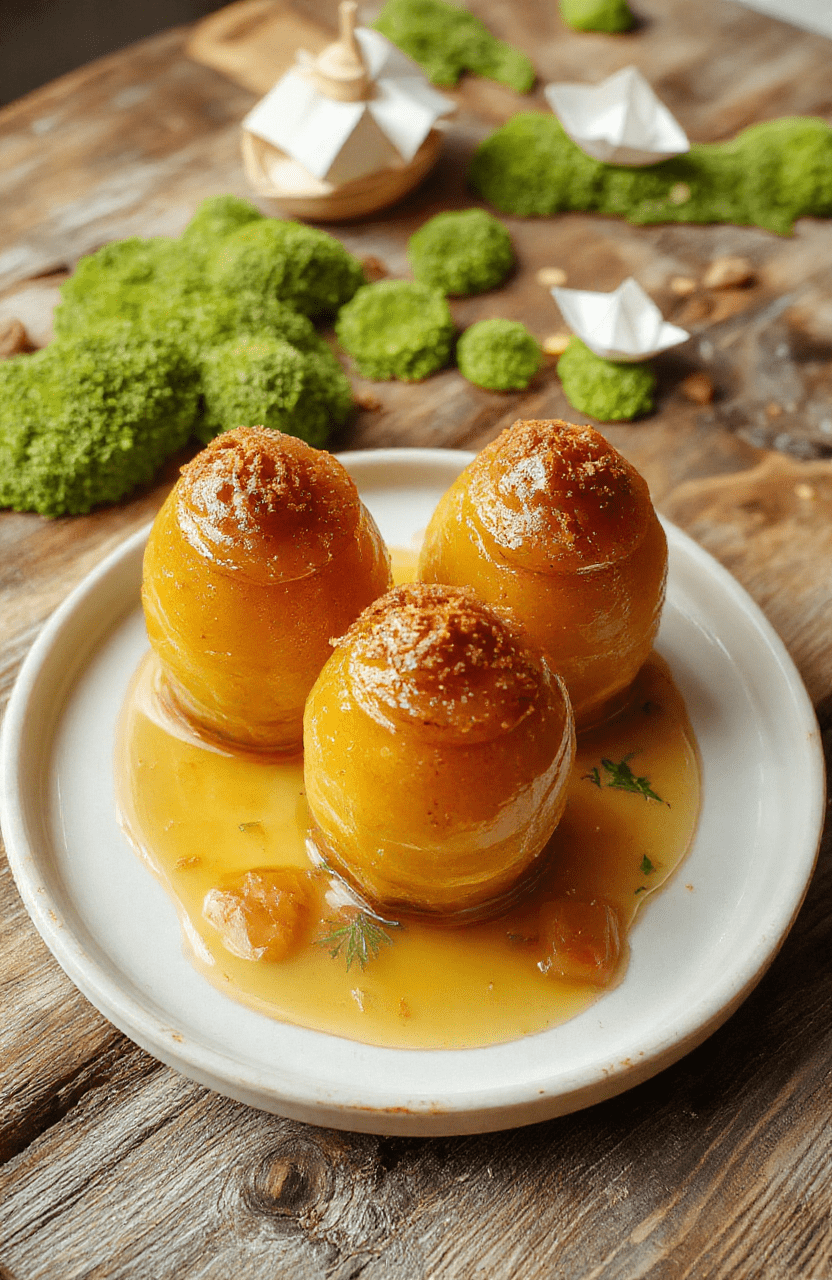
Step into the cozy, honey-scented world of the Hundred Acre Wood with these Winnie the Pooh Honey Pots — bite-sized, golden-brown cookie pots brimming with rich, velvety honey butter filling and crowned with a drizzle of pure floral honey. Inspired by A.A. Milne’s beloved children’s story, these treats bring the joy of Pooh’s favorite snack to your kitchen table — no bear required! Whether you’re hosting a themed birthday party, creating sweet memories with your little ones, or simply craving a moment of childhood comfort, these honey pots offer warmth, simplicity, and a little extra magic in every bite.
2. Why You’ll Love This Recipe
- No-fuss, kid-friendly cooking. Even young helpers can stir, scoop, and decorate with supervised supervision.
- Ready in under 30 minutes. From prep to plate — perfect for last-minute treats or quick holiday baking.
- One-bowl batter + no chilling. Mix, bake, fill, and go — no downtime needed.
- Guilt-free nostalgia. Made with whole wheat flour, real honey, and minimal refined sugar, these pots are sweet without being cloying.
- Highly customizable. Make them gluten-free, vegan, or nut-free with simple swaps — see the variations section!
3. Kitchen Tools You Need
While these honey pots are forgiving and beginner-friendly, having the right tools makes all the difference. Here’s what I use to craft this recipe consistently — and why they matter:
- Silicone Muffin Cups (12-count) — reusable, non-stick, and perfect for shaping those little “pots.” Plus, they keep treats intact for easy gifting!
- Stainless Steel Whisk & Mixing Bowls Set — for seamless dry/wet mixing. A sturdy whisk prevents lumps in the honey batter.
- Microplane Zester/Grater — ideal for adding a delicate hint of lemon zest to brighten the honey flavor.
- Fine Mesh Sieve — ensures your powdered sugar dusting (or glaze, if using) is lump-free for that professional “honey-drip” look.
4. Ingredient Notes
Quality ingredients make or break these honey pots — let me explain why each choice matters:
- Wildflower Honey (not just “honey”): Look for raw, unfiltered honey. Its floral complexity adds depth — think clover, orange blossom, or even buckwheat notes that ground the flavor authentically in nature.
- Unsalted Grass-Fed Butter: Gives a rich, slightly sweet base. Salted butter can over-salting the filling and throw off the balance.
- Whole Wheat Pastry Flour: Lighter than regular whole wheat, it keeps the pots tender while adding fiber and wheaty warmth. All-purpose works in a pinch, but the texture is slightly denser.
- Vanilla Bean Paste vs. Extract: If you want visible specks and layered richness, use bean paste. If using extract, double the amount — and add a pinch of brown sugar to deepen the aroma.
- Optional Oat Flour Boost: For extra chew and texture (think: Pooh’s favorite “crunchy honey oat”), swap 2 tbsp of flour with oat flour — just ensure it’s certified gluten-free if needed.
5. How to Make Winnie the Pooh Honey Pots
Here’s how these magical pots come together — step by step, with sensory cues so you know exactly when to stop, wait, or add a little more love:
Phase 1: The Honey Butter Filling (10 minutes)
Melt butter gently with honey over low heat — watch for the bubbles to slow and the mixture to turn glossy. That’s your cue it’s emulsified. Off heat, stir in powdered sugar and vanilla until velvety and spreadable (like thick warm caramel). Cool just until warm-to-the-touch — too hot and it’ll melt the cookie shells!
Phase 2: Whisking the Cookie Batter (5 minutes)
In a large bowl, whisk together flour, baking powder, and salt. In a separate jug, whisk egg, honey, melted butter (cooled), and vanilla. Pour湿 into dry ingredients and stir just until a soft dough forms. Do not overmix — lumps are okay; they ensure tender pots.
Phase 3: Baking the Pots (12 minutes)
Line cups in a muffin tin with silicone mold cups (or parchment liners). Scoop 1 tbsp dough into each, then press gently into a shallow well. Fill each with 1 tsp honey butter. Top with a second dollop of dough — like “glazing” the pot. Bake until golden on edges, springs back lightly when touched. Let cool 5 minutes in the pan, then transfer to a rack.
Phase 4: The finishing touch
Sprinkle with powdered sugar to mimic snow in the Hundred Acre Wood — or, gently brush tops with warm honey for that “just-emptied-pooh-pot” shine.
6. Expert Tips for Success
- Don’t overfill the wells! Leave a ¼-inch rim — overflow causes filling to leak and bake unevenly.
- Chill the filling if sticky. If your kitchen is warm, refrigerate the honey butter 10 minutes before filling — it firms up and holds shape better.
- Bake one tray at a time. Ovens have hot spots — rotating trays halfway ensures even browning.
- Use a 1-ounce scoop. Consistent sizing = consistent bake time. These should look like tiny tart shells — not muffin tops.
- Smell test: Toasted almonds in filling = burn. Honey butter should smell sweet and floral — any acrid or sharp notes mean it’s overcooked.
7. Variations & Substitutions
- Vegan Honey Pots: Swap egg for 1 flax egg (1 tbsp ground flax + 3 tbsp water), use vegan butter, and replace honey with pure maple syrup + ½ tsp molasses for depth.
- Nut-Free “Bear Claw” Pots: Fold in 2 tbsp rolled oats and a pinch of cinnamon — gives a cozy, spiced twist.
- Fruit-Filled Pooh Pots: Replace honey butter with warmed apricot or blackberry compote (thin with a splash of orange juice) and top with toasted coconut).
- Gluten-Free: Use a 1:1 GF blend with xanthan gum — add 1 extra tbsp honey to keep moisture.
8. Storage & Reheating
Store cooled pots in an airtight container at room temperature for up to 3 days — the honey butter stays soft and spreadable. For longer life, refrigerate up to 5 days, but let come to room temp 20 minutes before serving to restore texture. To reheat: Pop in a 300°F oven for 5–7 minutes until warmed through — never microwave, or the honey filling turns rubbery.
9. FAQ
Can I make these without a muffin tin?
Yes! Use mini cast iron skillets or muffin-top pans. For oven-safe ramekins, bake 8–10 minutes — watch closely to avoid dry edges.
Why did my honey pots collapse?
Mostly air release! Underfilled wells or overmixing can trap too much steam. Press dough gently, and consider adding ¼ tsp baking soda to neutralize acidity from honey — helps structure.
Can I prep these ahead?
Absolutely! Make the dough 1 day ahead and chill. Freeze baked (unfilled) pots for up to 2 months — fill and glaze just before serving.
Are these safe for toddlers?
Yes — but skip the powdered sugar dusting (choking risk). Use whole honey butter and cut pots in half. For babies 12+, use only pasteurized honey-free filling.
10. Conclusion
There’s something deeply comforting about bringing a story to life through food — especially one as kind, curious, and honey-loving as Winnie the Pooh. These Winnie the Pooh Honey Pots do more than satisfy a sweet tooth: they invite conversation, imaginative play, and a quiet reminder to savor the small joys. Whether you serve them at a storyTIME party or tuck one into your child’s lunchbox with a note from “Pooh,” you’re weaving warmth into your family’s traditions — and that’s the sweetest ingredient of all.
Print
Winnie the Pooh Hundred Acre Wood Honey Pots
Tiny ceramic honey pot desserts filled with real honey, topped with candied honeycomb and edible gold—crafted to honor Pooh’s love for honey. Ready in 15 minutes, no baking required.
- Total Time: 15 minutes
- Yield: 12 pots
Ingredients
- 12 small ceramic honey pots (food-safe, oven-safe if needed for charring)
- 1 cup raw honey (preferably wildflower)
- 1/4 cup granulated sugar
- 2 tbsp water
- 1/4 tsp cream of tartar (optional, prevents crystallization)
- Pinch of edible gold dust or luster powder
- Small sprigs of fresh lavender for garnish (optional)
Instructions
- Preheat oven to 350°F (175°C) if using ceramic pots that need sterilizing; line baking sheet with parchment.
- In a small saucepan, combine honey, sugar, water, and cream of tartar. Warm over low heat until sugar dissolves—do not boil.
- Once warm and smooth, carefully pour mixture into each ceramic pot, filling to 80% capacity.
- Let cool slightly, then drizzle tops with more raw honey for texture and sprinkle with gold dust.
- Refrigerate 10 minutes to set slightly, then garnish with lavender sprig. Serve chilled or at room temperature with crusty bread or ginger snaps.
Notes
- Ensure ceramic pots are food-grade and labeled oven-safe if heating.
- For vegan option, use agave or maple syrup instead of honey (adjust sweetness as needed).
- Storage: Keep refrigerated up to 5 days; best served fresh.
- Prep Time: 10 minutes
- Cook Time: 5 minutes
- Method: No-Bake
- Cuisine: British
- Diet: Vegetarian
Nutrition
- Serving Size: 1 pot
- Calories: 78 Kcal
- Sugar: 19g
- Sodium: 1mg
- Fat: 0g
- Saturated Fat: 0g
- Unsaturated Fat: 0g
- Trans Fat: 0g
- Carbohydrates: 20g
- Fiber: 0g
- Protein: 0g
- Cholesterol: 0mg
