
🎉 Easy Adventure Time Royal Tart Recipe 👑✨ Tasty Fantasy Treat
1. Introduction
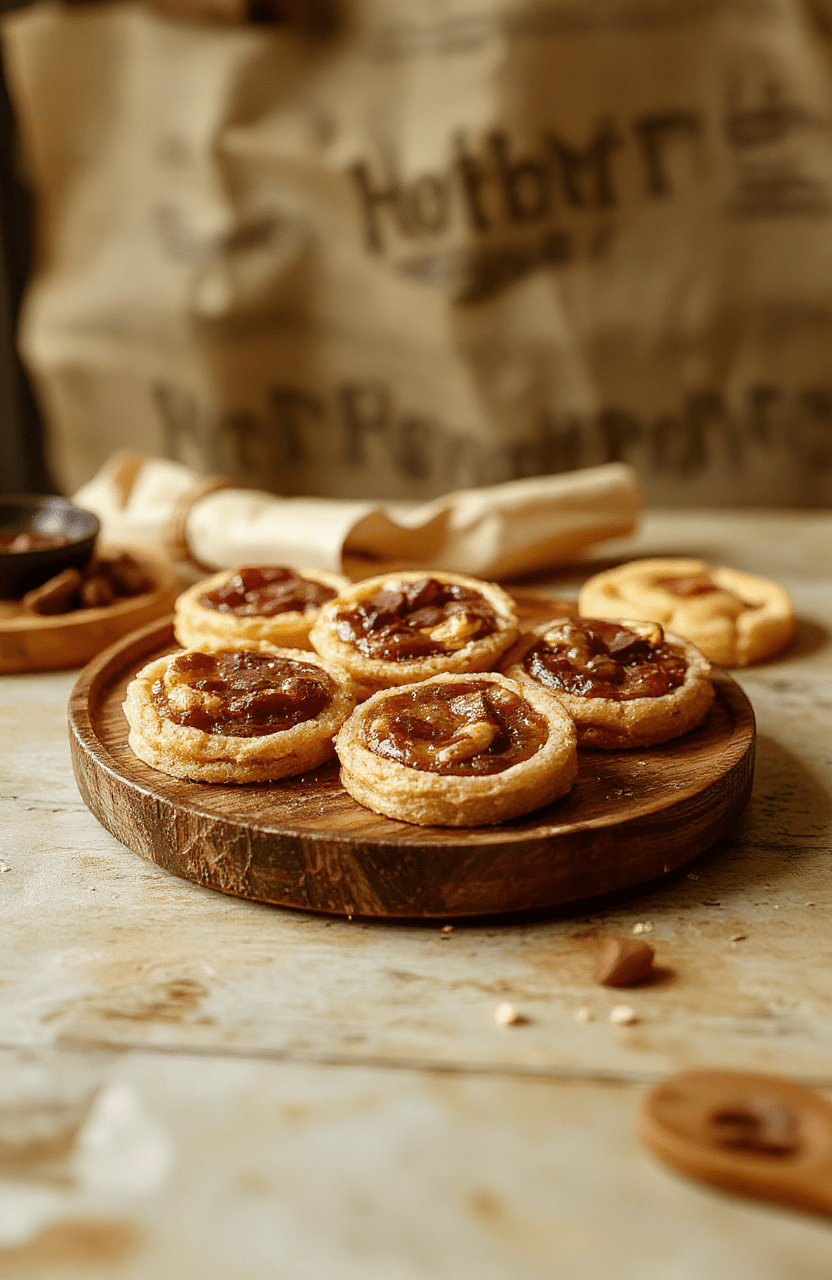
Imagine stepping into a fantasy kitchen where buttery crust meets jewel-toned fruit and a whisper of vanilla — this Adventure Time royal tart recipe blends whimsy with comfort. The crust bakes to a delicate, crisp edge while the filling glows with citrus brightness and berry depth. It tastes like a magical party in your oven, perfect for celebrations or a show-stopping weekend dessert.
2. Why You’ll Love This Recipe
- Ready in about 60 minutes with a crust that stays flaky and a filling that shines.
- A visually stunning dessert that feels festive for fantasy party vibes and kids’ celebrations.
- Make-ahead friendly — assemble, chill, and bake when you’re ready for a wow moment.
3. Kitchen Tools You Need
These tools help you achieve a professional finish and keep the process fun.
- 9-inch tart pan (with removable bottom) — yields clean, even edges for the perfect slice. For more kitchen inspiration, see our Magical Enchanted Movie Night Dinner Ideas post.
- Rolling pin — helps you roll the crust to an even thickness without stress. A quick detour to our Luca movie night snacks can spark theme ideas for your table.
- Pastry blender or food processor — cuts butter into flour for a tender, flaky crust. Curious about playful treats? check out our Harry Potter chocolate frogs guide for magical presentation ideas.
- Parchment paper and pie weights or dried beans — prevents shrinking and keeps soggy bottoms during blind baking. For fun ideas, skim our spooky dinner party menu.
- Silicone brush — adds a glossy apricot glaze for a jewel-like shine. If you love glossy finishes, you might enjoy our crispy onion rings post for texture tricks.
- Cooling rack and Mixing bowls — essential for steady prep and even cooling. Our related baking reads can be found in the linked posts above.
4. Ingredient Notes
The crust uses cold butter to create flaky layers that shatter with a crisp bite. Powdered sugar adds tenderness without too much sweetness, and a pinch of salt deepens flavor. For best results, use chilled ingredients and lightly handle the dough to avoid hard, tough crusts.
The filling blends a silky vanilla custard with a bright fruit layer. I like a layer of seedless berry jam for color and shine, but you can swap in lemon curd or a thin mascarpone layer if you prefer a richer profile. For dairy-free options, try a coconut cream custard with a splash of vanilla and citrus zest.
High-quality options matter: choose real vanilla extract or vanilla bean paste, real butter or a good plant-based butter, and fresh, fragrant fruit. If you’re serving this to a crowd, consider a few fruit combinations like strawberry-rhubarb, blueberry-lavender, or peach-raspberry to echo seasonal farmers-market flavors.
5. How to Make Easy Adventure Time Royal Tarts
Phase 1: Make the crust
Preheat your oven to 375°F (190°C). In a large bowl, whisk together flour, powdered sugar, and salt. Cut in cold butter until the mixture resembles coarse crumbs. Add ice water, a tablespoon at a time, just until the dough comes together. Form into a disc, wrap, and chill for 20 minutes. Roll to a 12-inch circle, then press into a 9-inch tart pan. Trim edges and chill for 15 minutes more. Blind bake with parchment and weights for 15 minutes, until the edges are lightly golden.
Phase 2: Prepare the filling
Whisk egg yolks with sugar, cornstarch, and a splash of milk to make a smooth custard. In a small saucepan, heat the remaining milk with vanilla until steaming, then gradually whisk into the yolk mixture. Return to the pan and cook over low heat, whisking, until thick enough to coat the back of a spoon. Spread a thin layer of berry jam over the cooled crust for color and sweetness, then pour the warm custard over the jam. Allow the tart to settle as it cools.
Phase 3: Bake and glaze
Return the tart to the oven just long enough to set the filling, about 8–10 minutes at 350°F (175°C). Let cool completely, then brush with warmed apricot jam or a light berry glaze to give the surface a glassy shine. Slice carefully for clean edges, and serve with a flourish of fresh fruit and mint if you like.
6. Expert Tips for Success
- Keep every fat-chill step; cold butter is your best friend for flaky crusts. If the dough softens, return it to the fridge for 10–15 minutes.
- Blind bake with parchment and weights to prevent a soggy bottom, especially if your custard is extra runny.
- Don’t overfill — a neat, even layer of jam under the custard prevents a marshy center and ensures bright color on top.
- Let the tart cool completely before glazing; a warm surface can cause the glaze to run and blur the edges.
- If you’re short on time, you can use store-bought tart shells and a ready-made vanilla custard mix for a quicker version.
7. Variations & Substitutions
- Gluten-free crust: swap in a 1:1 gluten-free flour blend plus a touch more water and a teaspoon of xanthan gum if your blend lacks it.
- Dairy-free option: use vegan butter and coconut or almond milk; skip the custard or use a thickened plant-based pudding.
- Fruit swaps: blueberries and lemon zest for a twilight-blue tart; peaches with raspberry jam for a late-summer twist.
- Flavor twists: add a pinch of almond extract to the custard or fold in lemon zest for a citrus zing.
8. Storage & Reheating
Store the tart, covered, in the refrigerator for up to 3 days. For the best texture, slice and reheat individual portions for about 10–15 seconds in a microwave or a quick 5-minute warm-up in a low oven to restore a gentle gloss. If freezing, freeze baked tart slices tightly wrapped for up to 1 month; thaw in the fridge before serving.
9. FAQ
Q: What is the Adventure Time royal tart recipe all about?
A: It’s a whimsical dessert that combines a crisp pastry crust with a bright vanilla custard and a fruit layer, designed to feel magical and party-ready while still tasting like a comforting classic.
Q: Can I make this ahead?
A: Yes. Blind bake the crust and chill it. The custard can be prepared ahead and gently reheated before filling. Assemble and glaze right before serving for the best shine.
Q: What fruit pairings work best?
A: Seasonal berries—strawberries, raspberries, blueberries—or stone fruits like peaches and apricots pair beautifully with vanilla and lemon notes. Try a layer of jam for color and extra sweetness.
Q: How can I keep the crust from getting soggy?
A: Blind bake with parchment and weights, and cool the crust completely before adding the filling. A thin jam layer also acts as a moisture barrier.
10. Conclusion
With its crown-worthy crust and jewel-colored filling, this Easy Adventure Time Royal Tarts recipe delivers drama, texture, and comforting flavors in every bite. It’s the kind of dessert that sparks smiles, invites oohs and ahhs, and makes any party feel like a tiny magical festival. Enjoy baking and savor the fantasy in every slice!
Print
Easy Adventure Time Royal Tarts 👑✨ Tasty Fantasy Treat
An enchanting fantasy dessert featuring crisp puff pastry shells filled with bright lemon curd and berries, finished with edible gold dust for a royal touch.
- Total Time: 30 mins
- Yield: 6 servings
Ingredients
- 1 sheet puff pastry, thawed
- 2 tablespoons granulated sugar
- 1/2 cup lemon curd
- 1/2 cup mixed berries (blueberries and raspberries)
- 1 egg, beaten for egg wash
- 1 tablespoon milk (for glaze)
- Edible gold dust or pearl sprinkles, for garnish
- Apricot jam (optional glaze)
Instructions
- Preheat oven to 375°F (190°C). Line a baking sheet with parchment.
- Cut puff pastry into circles large enough to fit mini tart pans or muffin cups; press into cups to form shells.
- Prick shells with a fork, brush with egg wash, and bake 12-15 minutes until golden. Cool completely.
- Spread lemon curd into each shell, then top with berries.
- Brush the crusts with a light apricot glaze if using and dust with edible gold dust or pearl sprinkles before serving.
Notes
- To keep edges crisp, bake shells until golden and let cool completely before filling.
- Chill pastry cups slightly before filling for neater presentation.
- Replace lemon curd with vanilla custard for a subtler flavor.
- Prep Time: 15 mins
- Cook Time: 15 mins
- Method: Bake
- Cuisine: Fantasy
- Diet: Vegetarian
Nutrition
- Serving Size: 1 tart
- Calories: 120 kcal
- Sugar: 7 g
- Sodium: 60 mg
- Fat: 4 g
- Saturated Fat: 1 g
- Unsaturated Fat: 3 g
- Trans Fat: 0 g
- Carbohydrates: 21 g
- Fiber: 1 g
- Protein: 2 g
- Cholesterol: 15 mg
