
Easy Sweet Buns: Brave Iced Buns That Are Fluffy & Fun 🐻✨
1. Introduction
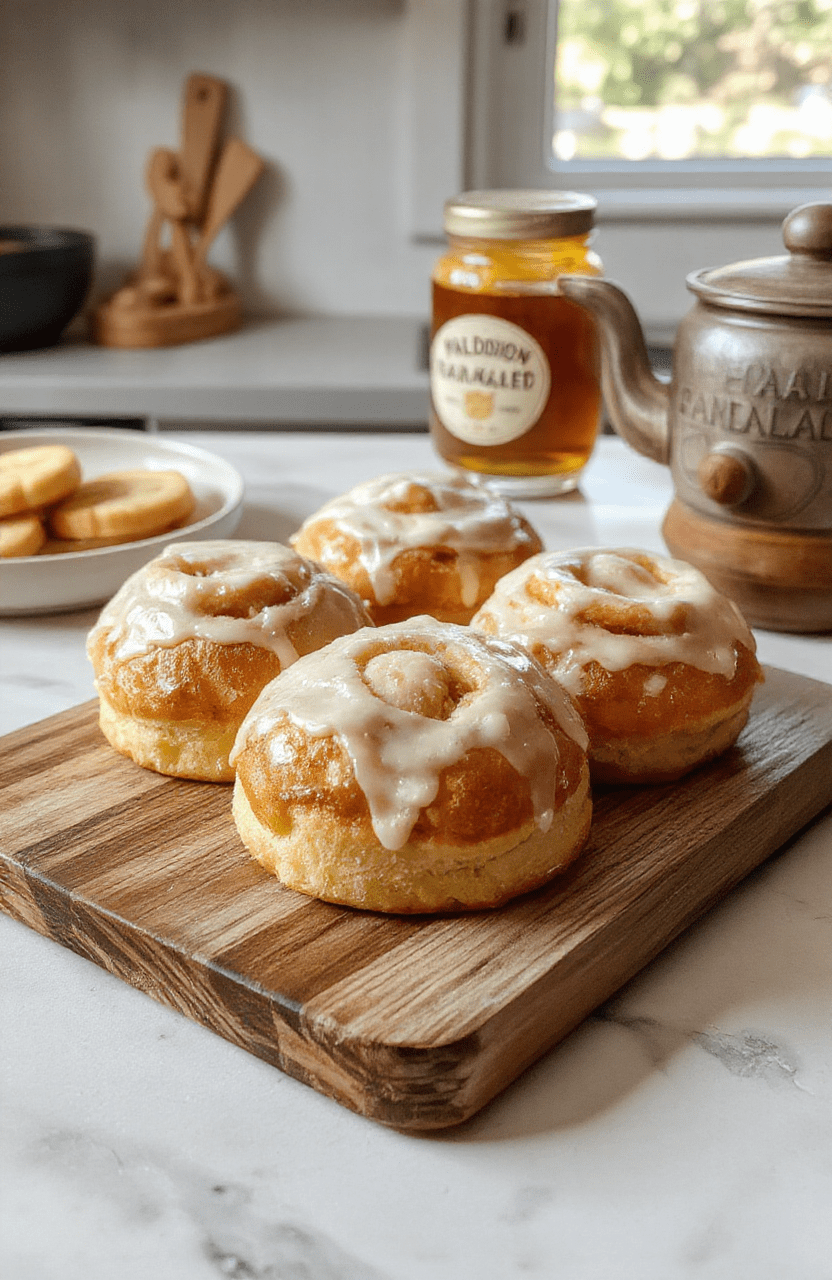
These easy sweet buns are a cozy baking project that delivers a cloud-soft crumb and a kiss of vanilla. The glossy iced tops make them feel festive, perfect for weekend brunch or school-day treats. In this post, you’ll discover how to turn simple pantry staples into something indulgent yet approachable — a true easy sweet buns moment. The aroma alone is irresistible: warm milk, melted butter, and gently sweet dough mingling with vanilla. You’ll see the dough come together with a soft sheen, then rise to light, pillowy perfection. By the end, you’ll taste bakery-worthy buns that are surprisingly quick to make. If you’re craving more playful bakes, explore related treats like Disney Villains Cookbook: Wicked Recipes and easy flaky Disney spinach puffs for more playful pastry ideas.2. Why You’ll Love This Recipe
- Ready in about 1 hour from start to finish, including a quick rise and a light glaze.
- Fluffy, cloud-soft interior with a delicate vanilla aroma and a glossy, sweet icing.
- Kid-friendly and party-ready — shape them as bears or classic rounds for a cute presentation.
- Flexible to fit dairy-free or gluten-free needs with simple swaps.
3. Kitchen Tools You Need
To coax bakery-worthy buns from a humble dough, gather these essentials: – Large mixing bowl and a wooden spoon for a gentle initial mix. – Stand mixer with a dough hook or a sturdy hand mixer for easier kneading. – Silicone mat or parchment paper to prevent sticking and for easy cleanup. – Baking sheet and a cooling rack for even browning and quick cooling. – Pastry brush to glaze the buns while they’re warm. – Digital scale for precise measurements, and a thermometer to check water/milk temperature. If you’re into themed bakes, you might enjoy exploring more ideas like a Disney-inspired spin on pastries. For inspiration, check out this Disney spinach puffs recipe: easy flaky Disney spinach puffs. And if you’re in the mood for a regal dessert, this windtorte pudding could spark a new twist: windtorte pudding.4. Ingredient Notes
– All-purpose or bread flour: Bread flour gives a touch more elasticity, but AP flour works beautifully for a softer bun. If you’re aiming for extra tenderness, try a mix of half bread flour and half all-purpose. – Milk and butter: Warm milk helps wake the yeast and creates a tender crumb. Use unsalted butter for better control of saltiness; you can substitute with coconut oil for dairy-free buns. – Sugar: A modest amount fuels the yeast and adds a gentle sweetness. If you like extra sweetness, increase by a tablespoon. – Yeast: Active dry yeast or instant yeast both work. If using active dry, proof it in warm milk with a pinch of sugar for 5–10 minutes until foamy. – Eggs and vanilla: Eggs enrich structure and richness, while vanilla adds aroma. If you don’t have vanilla, a touch of almond extract also works nicely. – Salt: A small amount heightens flavor and balances sweetness. – Glaze: Powdered sugar whisked with a splash of milk or water and a whisper of vanilla creates that glossy top. For a brighter glaze, add a pinch of lemon zest. Quality options to consider: for flour, brands like King Arthur or Bob’s Red Mill deliver consistent results; for dairy-free, try almond or oat milk with a little extra dairy-free butter substitute.5. How to Make Easy Sweet Brave Iced Buns: Fluffy & Fun!
Phase 1 — Gather, warm, and bloom Warm 1/2 cup milk to about 110°F (43°C). If using yeast that requires blooming, sprinkle 1 teaspoon yeast over the milk with 1 teaspoon sugar and let it foam for 5 minutes. You should see bubbles and a fragrant yeasty aroma. Phase 2 — Make the dough In a large bowl, whisk 2 cups flour, 2 tablespoons sugar, and 1/2 teaspoon salt. Add the melted butter, egg, vanilla, and the foamy yeast mixture. Stir until a shaggy dough forms, then turn onto a lightly floured surface. Phase 3 — Knead and rise Knead for 6–8 minutes until the dough is smooth and slightly tacky. Lightly oil the bowl, cover, and let rise in a warm spot for about 40–60 minutes, or until doubled. The dough should feel soft and spring back when gently pressed. Phase 4 — Shape and second rise Punch down the dough and roll into a 1/2-inch thick rectangle. Cut into rounds using a 2-inch cutter or simply pinch portions into bear shapes if you want a playful touch. Place on a lined baking sheet, cover, and let rise for another 25–35 minutes until puffed. Phase 5 — Bake and glaze Preheat the oven to 375°F (190°C). Bake 12–14 minutes until light golden and shiny on top. While they’re warm, brush with a vanilla glaze (powdered sugar mixed with a little milk and vanilla) until the tops gleam. The buns should feel soft and springy, with a delicate scent of vanilla.6. Expert Tips for Success
– Temperature matters: keep your liquid ingredients warm but not hot to avoid killing the yeast. – Measure by weight when possible for perfect consistency. A digital scale makes this quick and accurate. – Don’t over-knead; stop when the dough is soft and elastic. Over-kneading can make buns dense. – Let dough rest in a draft-free area; a shaded warm corner yields better rise. – Cover dough with a clean towel rather than plastic wrap for a gentle rise that doesn’t trap humidity. – If your glaze runs off the buns, cool them on a rack briefly before glazing to let the surface set.7. Variations & Substitutions
– Dairy-free: use plant-based milk and dairy-free butter or coconut oil; add a splash of almond extract for extra aroma. – Gluten-free: try a 1:1 gluten-free flour blend with a bit more water or milk to keep the dough flexible, plus a shorter rise time. – Flavor twists: add lemon zest or orange zest to the dough for a bright citrus note; mix in a teaspoon of almond extract for a nutty depth. – Shape ideas: bear buns for kids, or traditional round buns for easy stacking on a plate.8. Storage & Reheating
Store cooled buns in an airtight container at room temperature for 2–3 days. For longer storage, freeze buns individually wrapped for up to 1 month. Reheat in a 300°F (150°C) oven for 5–7 minutes or warm briefly in the microwave to restore tenderness. Freshly glazed buns are best enjoyed within a day for that shine.9. FAQ
Q: Can I make these buns ahead?
A: Yes. You can prepare the dough up to the first rise, refrigerate overnight, and continue with shaping and baking the next day. This helps you plan a fresh bake with less rush.
Q: What flour yields the fluffiest buns?
A: Bread flour gives more structure and a lighter chew, while all-purpose flour creates a softer crumb. A blend works wonderfully for a balanced texture.
Q: Why didn’t my buns rise?
A: They may have faced a cold environment or expired yeast. Ensure the liquid is warm (not hot) and that the yeast is active. If you see no foaming after blooming, start with fresh yeast.
Q: How can I keep the glaze from running off?
A: Let the buns cool for a few minutes after baking, then apply the glaze in thin layers. A light, glossy sheen is easier to achieve when the surface is just warm, not hot.
10. Conclusion
These Easy Sweet Brave Iced Buns deliver bakery-worthy flavor with everyday ingredients. They’re fluffy, glossy, and wonderfully versatile for breakfast, snacks, or party desserts. Save this recipe to revisit whenever you crave a comforting, kid-friendly treat that’s also a little magical. Enjoy the delicious balance of soft crumb and sweet icing, and have fun with the presentation to suit your occasion. Print
Easy Sweet Brave Iced Buns: Fluffy & Fun! 🐻✨
A soft, yeasted bun brushed with vanilla icing, finished with a light sugar glaze. Fluffy, mildly sweet, and easy to bake for a crowd.
- Total Time: 1 hr 50 mins
- Yield: 12 buns
Ingredients
- 2 cups all-purpose flour
- 1/4 cup granulated sugar
- 2 tsp instant yeast
- 1/2 tsp salt
- 3/4 cup warm milk
- 2 tbsp unsalted butter, melted
- 1 large egg
- 1 tsp vanilla extract
- For glaze: 1 cup powdered sugar
- 2-3 tbsp milk
- 1/2 tsp vanilla extract
Instructions
- Mix flour, sugar, yeast, and salt in a bowl.
- Warm milk and butter, then whisk in egg and vanilla.
- Combine wet and dry ingredients; knead until smooth. Cover and proof 60-90 minutes until doubled.
- Divide dough into 12 pieces; roll into buns and place on a baking sheet.
- Bake at 375°F (190°C) for 12-15 minutes until golden.
- Whisk glaze ingredients until smooth; brush on warm buns.
Notes
- Proofing time may vary with ambient temperature.
- Add a pinch of lemon zest to glaze for brightness.
- Store leftovers in an airtight container for up to 2 days.
- Prep Time: 20 mins
- Cook Time: 12-15 mins
- Method: Bake
- Cuisine: British-inspired
- Diet: Vegetarian
Nutrition
- Serving Size: 1 bun
- Calories: 180 calories
- Sugar: 7 g
- Sodium: 120 mg
- Fat: 6 g
- Saturated Fat: 3 g
- Unsaturated Fat: 2 g
- Trans Fat: 0 g
- Carbohydrates: 28 g
- Fiber: 1 g
- Protein: 5 g
- Cholesterol: 40 mg
